Fujifilm Recipes: How Do You Choose?
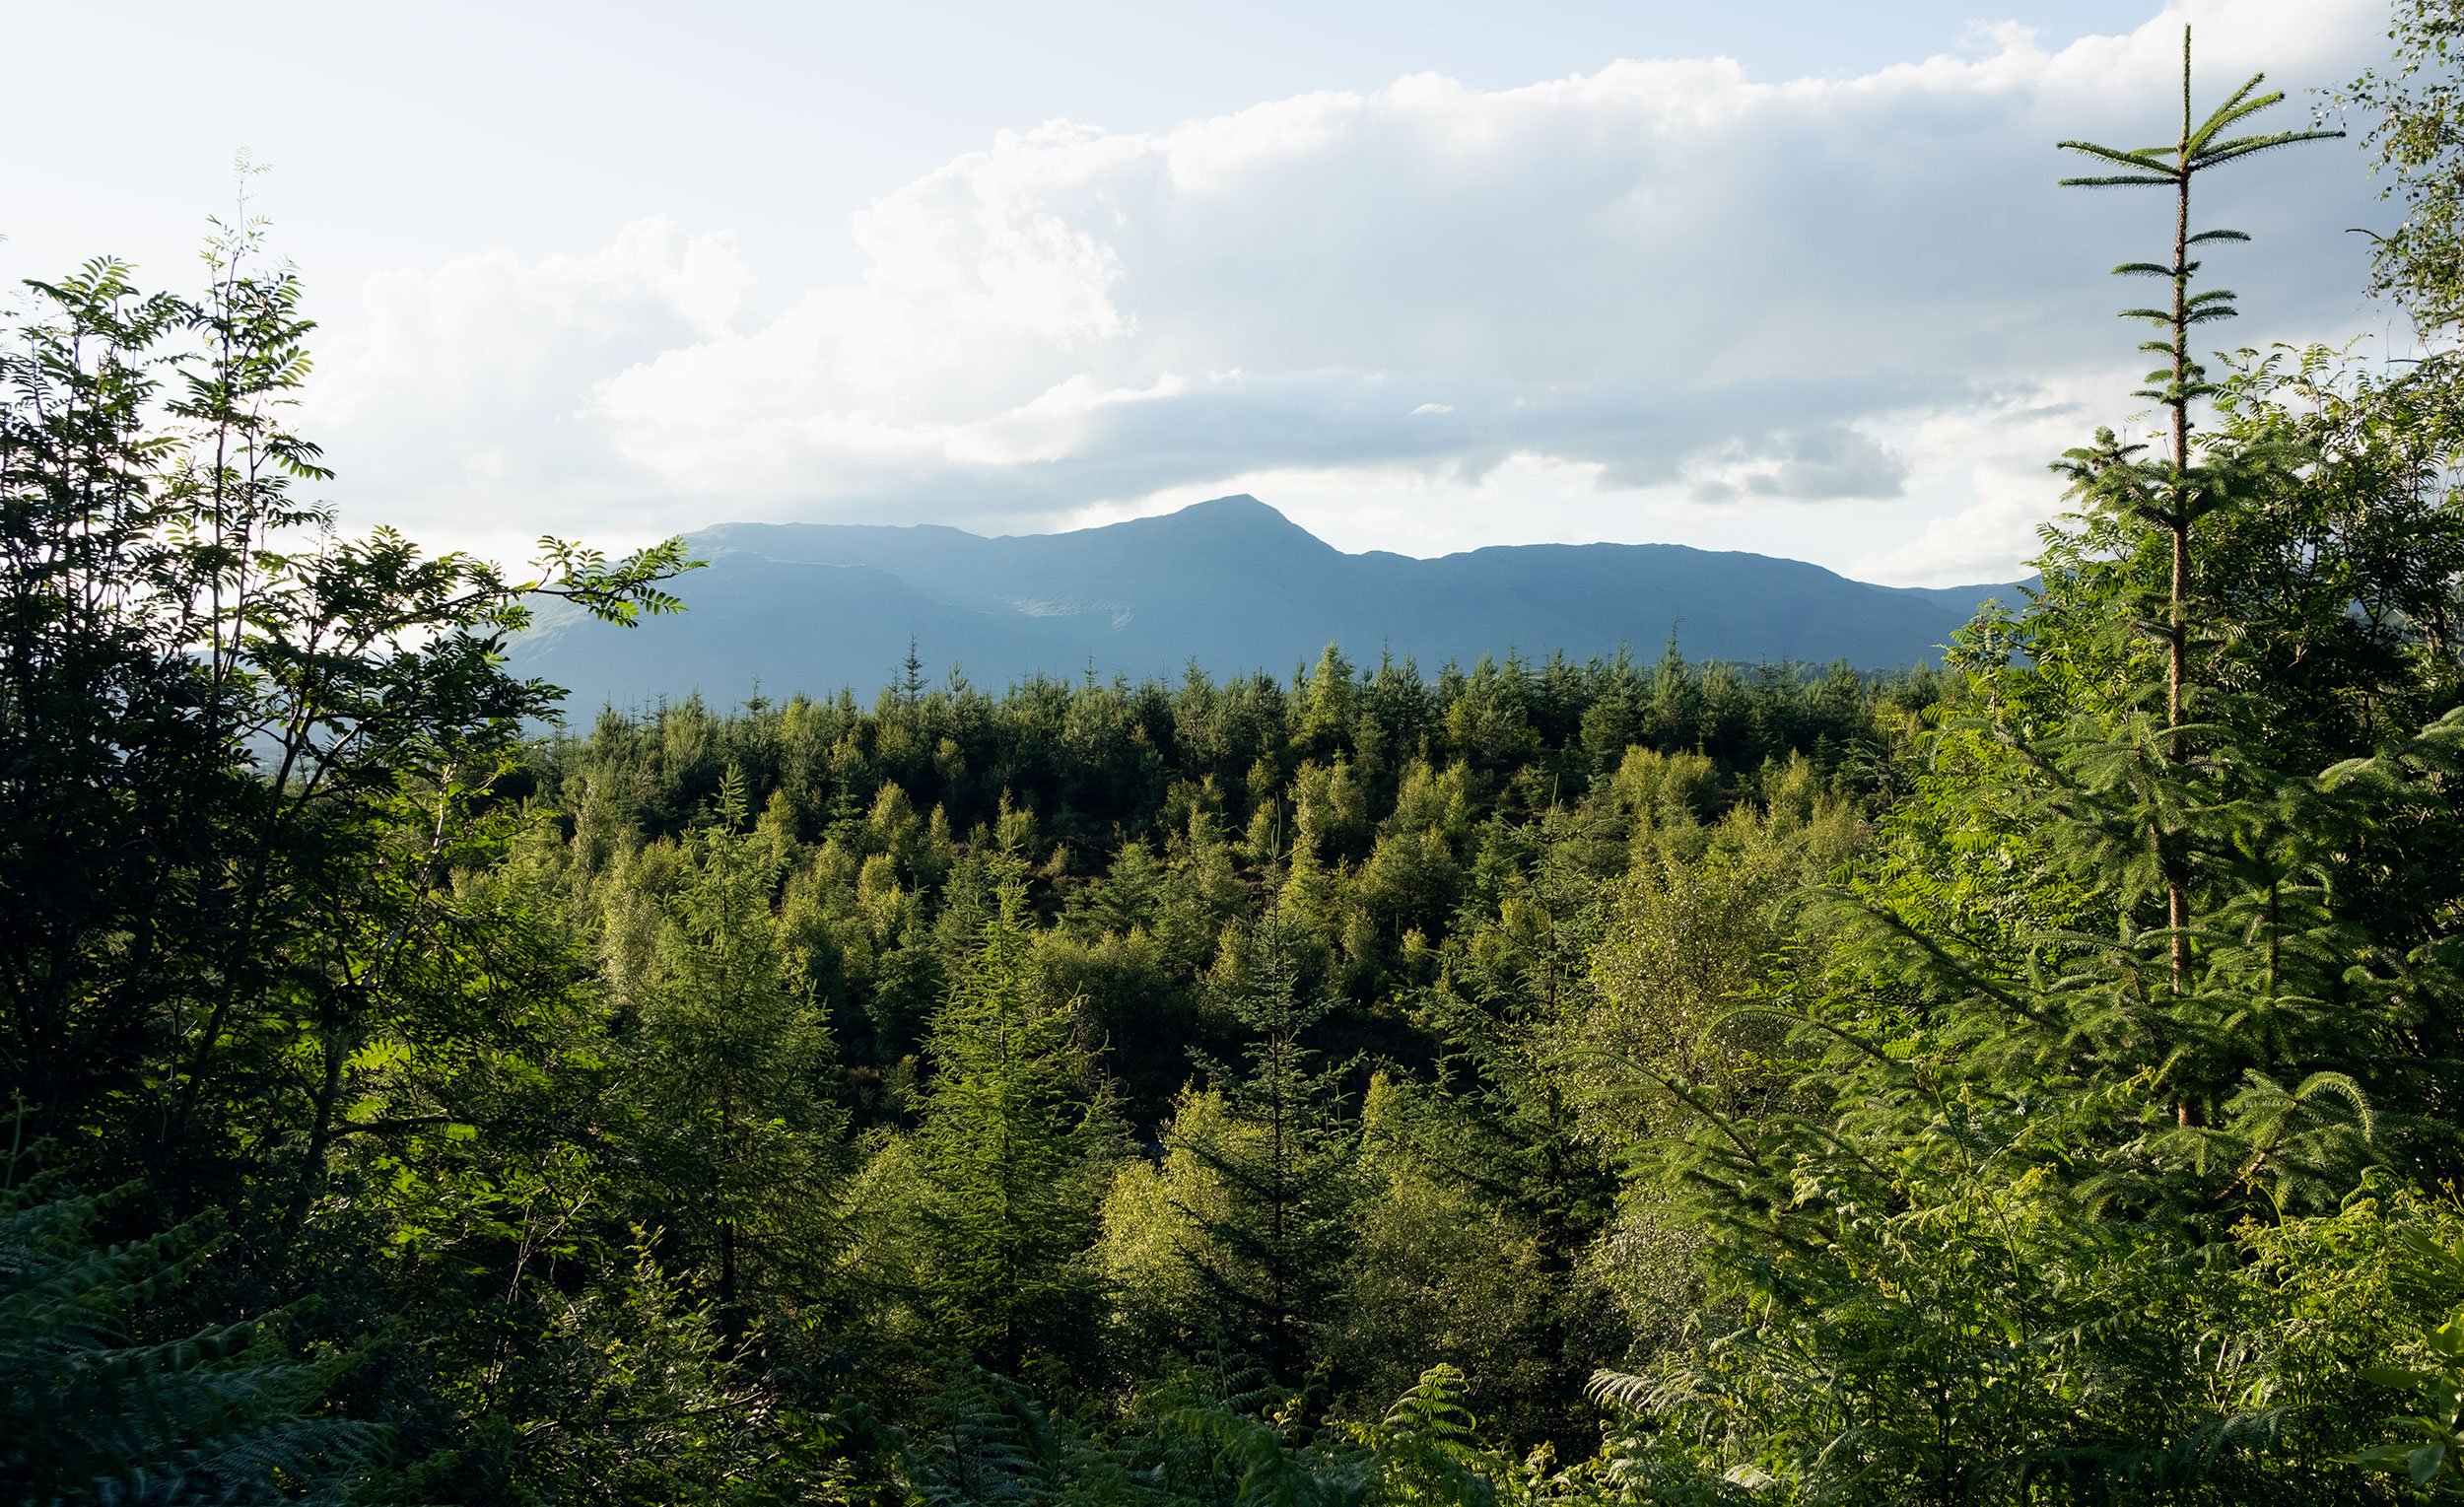
Scotland, 2024 - Kodachome
I talk about Fujifilm recipes quite a bit as I think they are a great way to unleash some creative fuel that encourages more discovery and more time behind the camera. It’s also a great way to simplify a photographic workflow, as it greatly reduces any time spent in front of a computer with post-processing. However, not everything is easy: not every recipe works in every situation. The subject matter and the shooting conditions are such that finding what works for you is harder than it may first appear to be.
There are many shared recipes, some proven, some experimental, and it's really difficult to estimate how many there are to choose from. But it’s safe to say that there are easily thousands of recipes out there. So, where do you get started? How do you narrow it down to the ones you want to experiment with yourself, and how do you reach the point of comfort where you have go-to recipes you use consistently?
1. Consider Your Fujifilm Camera/Sensor
Fujifilm cameras have been able to utilize recipes for some time now. Still, over the years, innovations and advancements in camera technology mean that sensors change, and with each evolving sensor, recipes won’t behave the same across sensors. For example, the Fujifilm X-H2, which I use, utilizes an X-Trans V sensor, whereas a more popular camera, such as the X100V, uses the X-Trans IV. Will the differences between these two sensors be dramatic? Probably not, but note that a film recipe created with one sensor may not be exact. But truthfully, it’s difficult to see these differences anyway, as you have your own subjects and shooting conditions.
As you get to older models with older sensors, the differences can become more of an issue. First, sensor noise at high ISO interacts uniquely with Noise Reduction and Grain Effect settings. In addition, older cameras may lack parameters such as Clarity or Tone Curve. Older models limited to X-Trans I, II, or III sensors lack the Clarity parameter entirely, and pre-X-Trans V models use the legacy Highlight Tone and Shadow Tone adjustments.
In summary, you will still be able to get creative with recipes, regardless of your sensor; however, you may need to make tweaks if a chosen recipe is not designed for your sensor.
2. Your Subject is Key
Your subject matter when choosing a recipe, but I only want to discuss what I photograph to give you relevant context. 75% of my shooting is travel-based, where 25% is automotive. This can fluctuate a bit, but it's usually pretty accurate. I will say that film recipes are not as forgiving or versatile when it comes to automotive subjects. Film recipes shift colours and tones, and some do so dramatically and dramatic colour shifts are not usually preferred for automotive. They can be used sparingly, but I often find a recipe a bit distracting. And since it’s a JPEG, it’s not the cleanest image possible. In addition, I edit my automotive images 99% of the time, and JPEGs are not preferred.
However, for street and travel photography, I use them all the time, as I find those subjects much more adaptable to shifts in tone and colour. Many classic film stocks were used in the early days of street photography, and they convert well for travel, as the two genres can be closely related.
Start with recipes that have been used and reviewed on subjects you choose to shoot.

Kodachrome
3. Try Popular, Proven Recipes First
If you are just getting started, I’d recommend experimenting with some of the most popular and long-standing recipes first. These recipes stay relevant for a reason, and one reason is consistently pleasing results and good reviews. So many recipes fade into the background, never to be used again, but some continuously come up in searches and examples: these are the ones you want to start with.
Trying an obscure recipe first can be quite disorienting, and the results can be a dramatic shift from what you are used to shooting with it. Some of the more popular recipes replicate film stock from days past and current, and provide a more subdued look than some other custom recipes.
Keep in mind that some film stock replicas have numerous variations as more people use and tweak them to get closer to the actual film stock. As a result, you’ll find various recipes, but you shouldn't have much trouble finding one for your camera sensor.
Here are some good recipes to start with based on film stock:
Kodak Portra 400 (or other Portra-related)
4. Understand the Settings (and Which Ones Don’t Matter)
Most recipe settings are essential, but there are tweaks you can make that can take a recipe from something you like to something more applicable to your style. For example, grain settings are just that. A recipe uses “Strong, Large” grain? Just change it to something else: same look, less grain. Sharpness and clarity make things too crisp, but you like the overall tone? Reduce those settings. It’s important to note that it’s almost impossible to replicate an exact film stock. Some get close, but I think most can agree that it's never going to look like the actual film.
That’s the great thing about a film recipe. You can tweak as needed, but understanding what every feature does is essential. Once you have some experience using your own recipes and images, you can study them to identify what you like and what you don’t, and adjust from there. That’s what most custom recipes are anyway; some are dramatic shifts, others are subtle tweaks on what existed before.
Kodachrome
5. Don’t Quit Too Fast
This is one of the most important and overlooked factors when using film recipes: don’t quit. It’s easy to see examples online and read reviews and think that you have found the missing piece; everything after this is going to be solid! The truth is, it’s rare to use a recipe during one outing and be completely satisfied with what you have. In fact, you may hate your photos at first. But don’t quit, and don’t think the recipe is the problem. Don’t get me wrong, in the end, it may not be the one for you. But you need to give it time. Varying conditions, subjects, and overall patience will determine whether this is a recipe you stick with.
You may ruin a whole day of shooting, but that’s probably happened to you before, and it wasn’t because of the recipe. Give it time, and be sure to experiment with it over several days to understand the results before you move on.
Conclusion
In conclusion, Fujifilm film recipes offer a powerful gateway to creative experimentation and streamlined workflows, especially for travel and street shooters seeking instant, film-inspired JPEGs without endless editing. By matching recipes to your camera's sensor generation, prioritizing popular stocks, tweaking settings like grain or clarity to suit your style, and committing to patient trial across varied conditions, you'll quickly build a reliable set of go-to recipes. There are thousands of recipes, but your best ones emerge from consistent use.