My Go‑To Fujifilm Settings for Travel in 2026
There are countless ways to set up your Fujifilm camera for travel, but during my actual travel time, I don’t want to be buried in menus and figuring out how to do things. I want a simple, reliable starting point that lets me react quickly to whatever I find: early‑morning light, busy streets, and that once-in-a-lifetime shot. Over time, I’ve settled on a default setup that I enjoy, one that I prepare and check before each trip. Since I travel only about twice per year, and use my camera for automotive as well, I settle back in and prep my camera for the travel season, making sure everything is set correctly. That way, I can focus on all the travel logistics and get right into things when I get there.
In this post, I’ll walk through those base settings and why I use them: from film simulations and dynamic range to autofocus modes and JPEG/RAW choices. Think of this not as “the” right way to configure your camera, but as one practical template you can borrow, tweak, or completely overturn to suit your own trips.
For context, I shoot with the Fujifilm X-H2, and I love that camera. Also, I have only two lenses: a 23mm f/2 and a 35mm f/2. For those lenses, I have a circular polarizer attached most of the time. That is the current extent of my camera gear. The X-H2 has two slots: an SD card slot and a CFexpress slot. All my flash media are SanDisk Extreme Pro, consisting of three 128GB SD cards and two CFexpress cards: one 128GB and one 256GB. For video, I use a DJI Osmo Pocket 3. I do not shoot any video with the X-H2. The reason for this is that I like to have a separate device for video. The DJI Osmo Pocket 3 is also quick to start up for 10-15-second clips and to flip back to turn off. Convenience!
RAW or JPEG? Or Both?
With every recipe I use on a given trip, one of the first calls is whether to use JPEG, RAW, or both, and my decision depends in part on how well I know the recipe.
The more I use a recipe, the more I get used to where it works and where it doesn’t. The ultimate goal is to find one that works most of the time under varying conditions. Due to the nature of film recipes and the elements and colours they push, finding a completely universal one is nearly impossible; however, many work well in most conditions. When I’ve used a recipe numerous times and in different locations, I start to trust the JPEG file.
I have shot only JPEGs and have not regretted it, but given the volume of flash media I have, there is little logical sense in doing so. To explain, I am not a heavy shooter; at least, I don’t consider myself one. I don’t come home with 10,000 photos, so I have plenty of space to work with.
On casual travel days, I’ll shoot JPEG-only to stay present: a quick check to see how it’s looking, then keep moving without overthinking it. But on travel, I’ve tended to shoot both RAW and JPEG for backup. Like, I might as well have a RAW copy just in case, right?
I shoot JPEGs to the SD card and RAWs to the CFexpress card, so not only do I have two image formats, but I also have them on two separate media. However, of my travels since mid-2024, I’ve used RAW images maybe 2-3% of the time in my final images, probably less. Based on this, I’ll continue to shoot both formats in 2026 for travel; if I’m taking a drive one afternoon out around Peggy’s Cove, that’s when I’ll shoot JPEG only, and I’ll probably try a new recipe while I’m at it.
Film Recipes
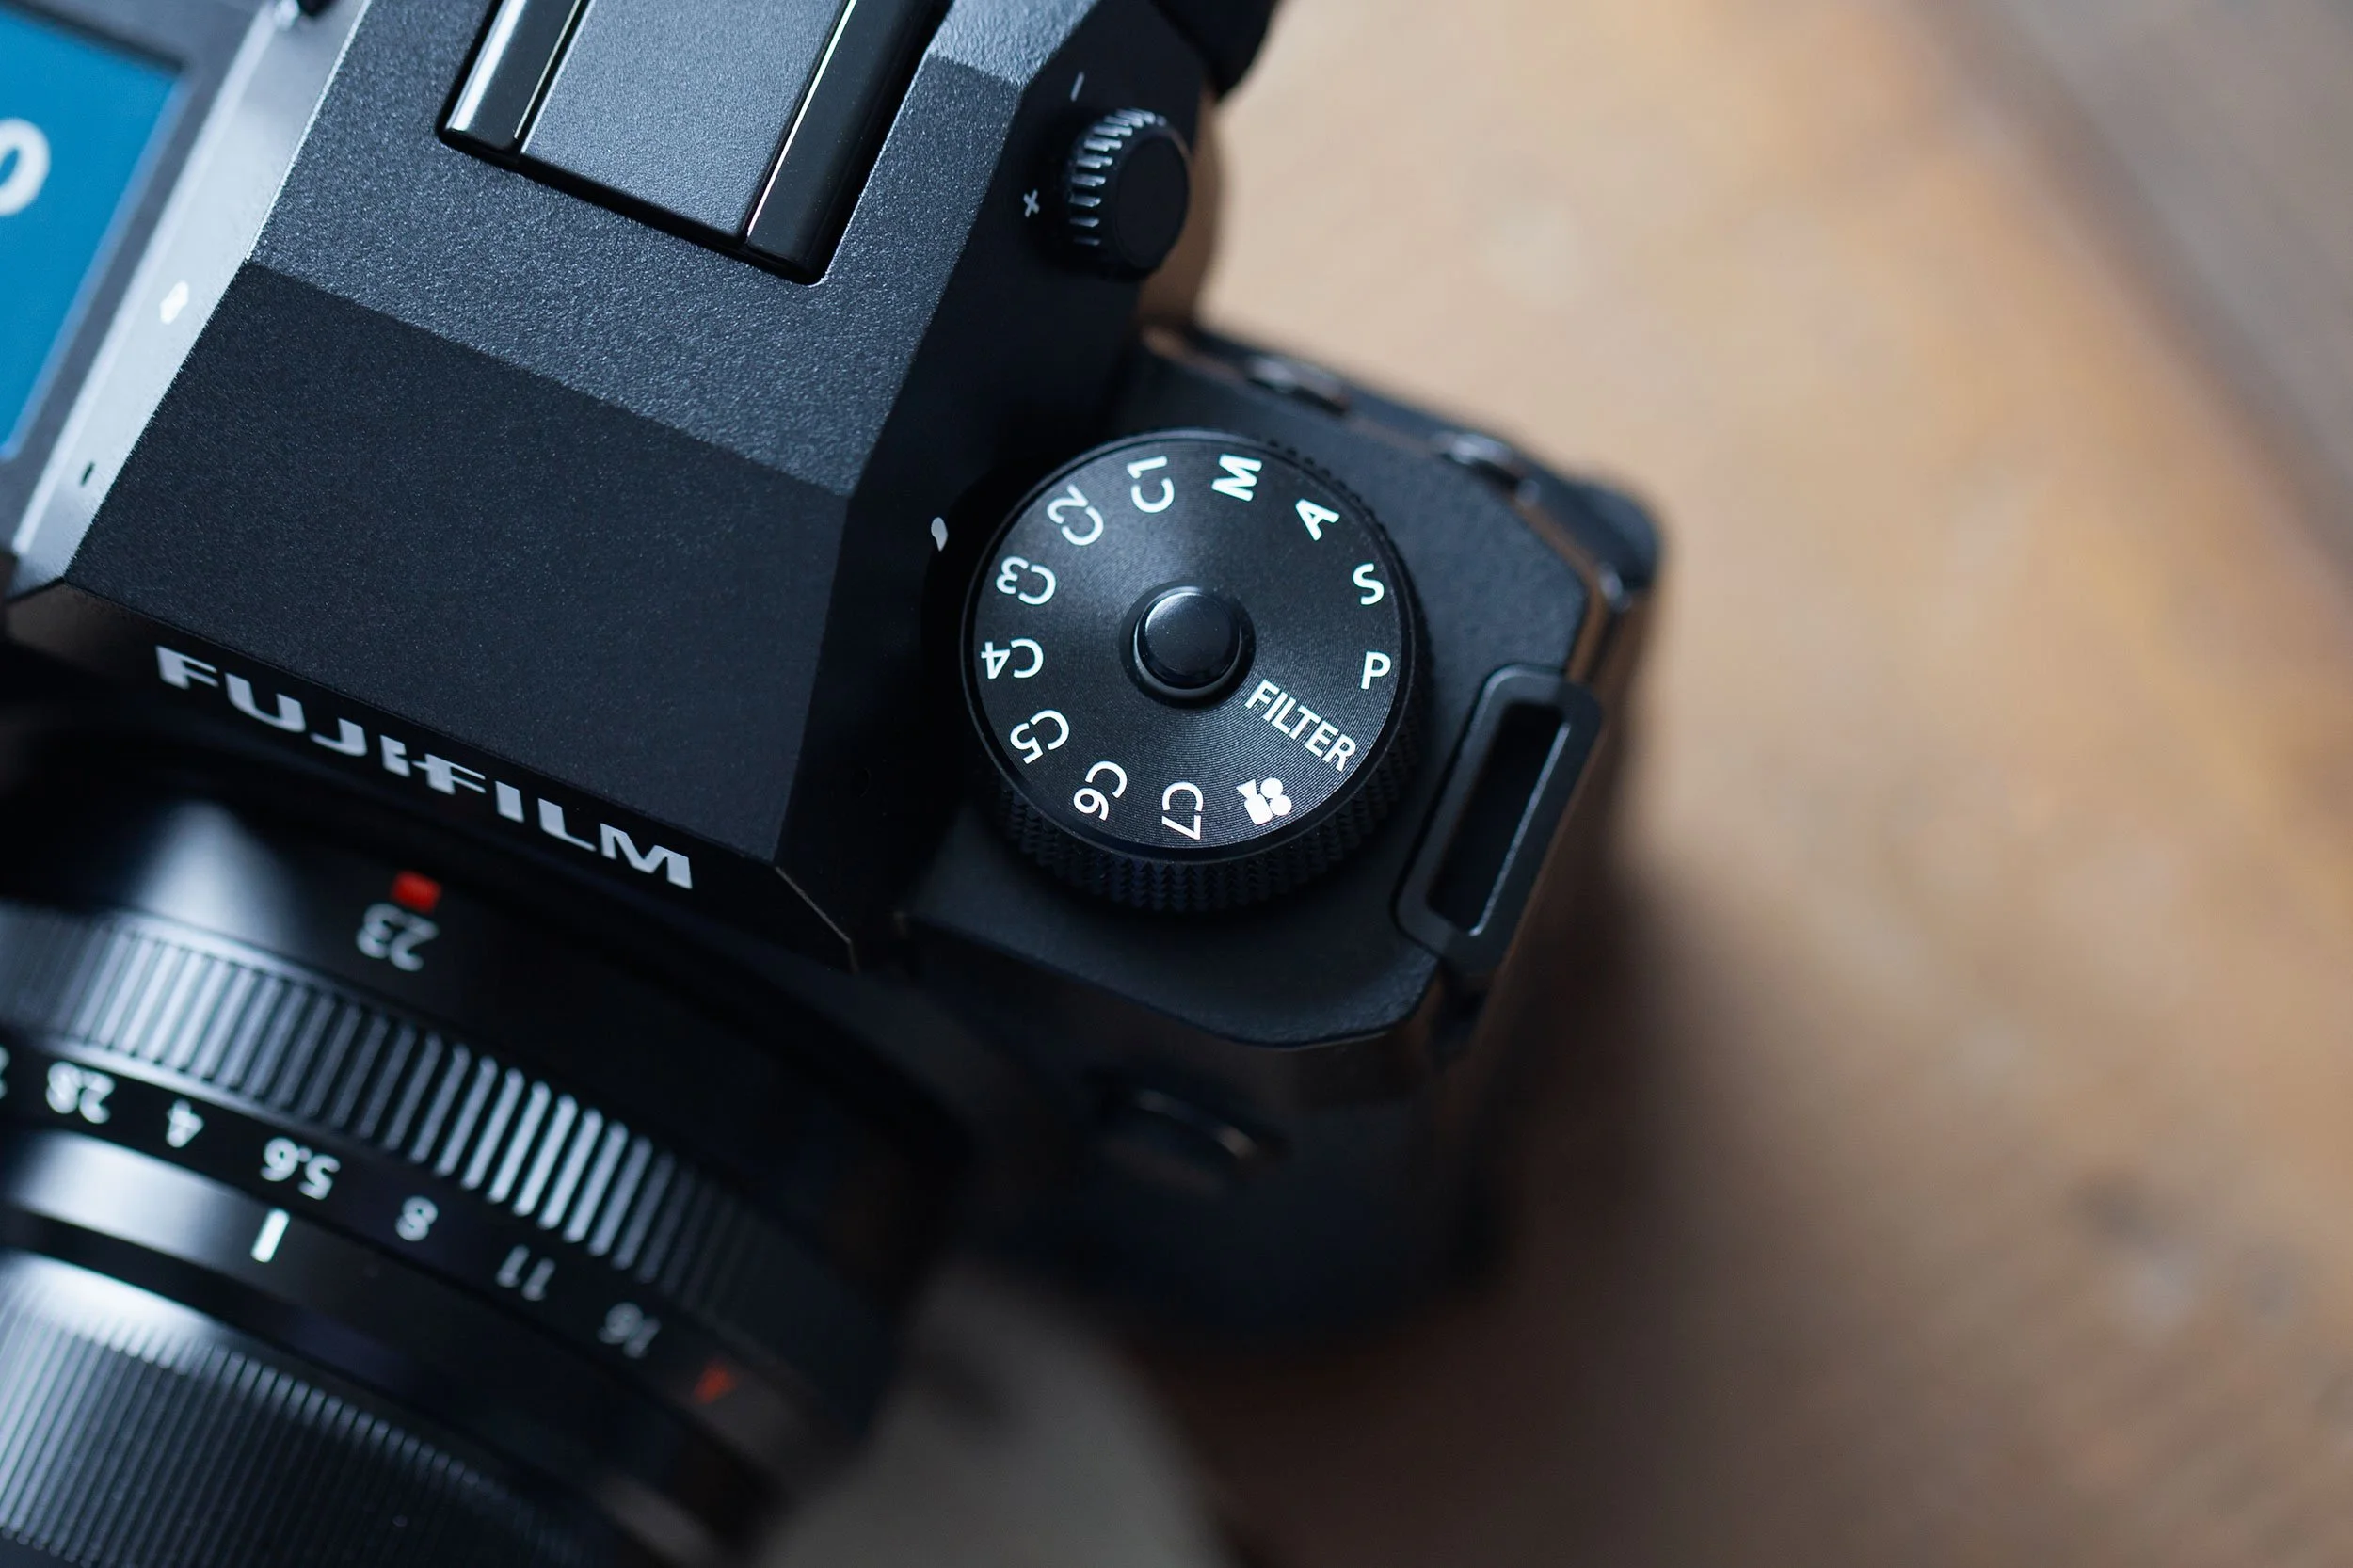
One thing I love about the X-H2 is those seven custom slots (C1 to C7). I fill everyone with a film recipe. In summary, I have a mix of go-to recipes that I switch out a few periodically, as some don’t work for me. That’s one of the most difficult things about film recipes: trying to find ones that work for you! We do our best to determine whether it could be right based on the popularity and the images used as examples, but they always have to be tested in the field to be sure.
To remember which recipe sits on which dial position, I flick to the custom setting on the dial and tap Q. The quick menu pops up with the exact name I saved when setting it up. Spot the one I want, lock the dial, done.
I leave everything as is with a recipe, never tweaking in the field. The first thing I adjust regularly is the exposure compensation. I use the thumb dial for that. I tend to overexpose slightly, partly because it’s easy to back off later in editing if I need to, and partly because I use a circular polarizer 95% of the time, which demands a little bit more exposure.
Camera Settings
For my X-H2 travel setup, exposure choices like aperture, dynamic range, ISO, and shutter speed form the backbone. Along with the prime lens selection I use regularly, dialling in dynamic range, ISO, and minimum shutter speed are considerations. Here’s how I lock it all in.
Aperture
Both the XF 23mm f/2 and XF 35mm f/2 put the aperture right on the lens. It goes from f/2 to f/16 in clicked stops, plus that “A” mark I never touch. I live for lens-based control; picking up something without it feels flat-out weird. Honestly, using anything other than a prime lens feels foreign now.
With aperture control on the lens, glance down, twist, and the f-stop is set. No power on, no menus, no body-dial hunt. And those clicks? Pure satisfaction. Tactility adds so much to the photography experience.
Dynamic Range
I’ve called DR400 my go-to for dynamic range in past posts. It’s my recipe default, though it might not suit everyone. That said, DR400 is terrible on cloudy or rainy days. It makes everything flat. So, for black-and-white recipes or any shooting in similar weather, I drop to DR100 to restore contrast and keep those JPEGs looking good.
ISO/Shutter Speed
The X-H2 handles noise like a champ, and my recipes add a little grain most of the time, so a little extra noise never bothers me. As a result, I run Auto ISO exclusively; however, my Auto ISO always has a minimum shutter speed; I lock it at 1/200 second. I’m steady enough handheld to nail sharp shots every time, unless it starts to get quite dark.
That said, 2026 is a new year. I want to experiment with longer exposures to lift flat scenes and keep pushing my travel work. To drag the shutter, I’ll drop the shutter speed to 1/30 or lower and see what works.
Conclusion
There’s no one way to dial in your Fujifilm camera for the travel ahead. Countless setups work depending on your style and scenes. For me, when I’m actually travelling, the last thing I want is menu-diving or second-guessing. I need a reliable launchpad that responds quickly to unpredictable, changing shooting conditions. I’m prepared in advance so I can focus on the logistics of travel and the place itself. Minimal gear and trusting JPEGs 98% of the time while RAWs sit ready on CFexpress.