My Budget Guide for Printing and Framing
I’m a massive advocate for printing our photography. It is the final step in realizing my vision and one of the best ways to enjoy what I have produced. If you do not already, I highly recommend periodically printing your work, framing your results, and displaying or gifting them to others. It’s an excellent way to enjoy your work further and share it.
Selecting the best photos for prints can be a process; some photographs look good as prints, others do not. Furthermore, larger prints and frames can get expensive, causing some to abandon the idea altogether.
Finding the right print provider that balances quality with cost is essential, especially if you plan to do so often. In this post, I wanted to summarize my process for preparing my prints and what vendor I currently prefer to produce them. We’ll also look at budget-friendly framing options and what I believe are the most promising places to find abundant framing options.
I reside in Canada, so this would heavily cater towards Canadian photographers; however, the process and research on providers will still be relevant to most.
Choose a Frame First
It may seem that the most logical first step is printing your photo. However, I find that purchasing the frame first makes more sense. Sometimes, specific sizes of frames can be challenging to find, and if you have a photo already printed, you may not be able to find the exact size of frame you need, and if you do, you could be limited in choice and price. As a result, shopping for a frame first within a budget of your choosing is recommended. Sizes of frames up to around 11x14 are usually quite affordable, but the cost can quickly increase when you get into larger sizes.
If you want to print your work for a particular purpose, such as for a space in your home, I’d recommend determining if that size will work in the space you envisioned. If one photo is too small, will multiples look better? What’s the easiest way to imagine how a frame will fill the space on your wall? Measure the frame and use painter’s tape to create an outline on your wall.
Most Affordable Frames
If you have an Ikea nearby, it is easily the most affordable place to find frames. They have numerous sizes, colours, materials, and frame designs that will fit many framing applications. The cheapest frames they offer are not bad; however, spending $4-$5 more on a frame of the same size increases the quality significantly. Many of these Ikea frames have a plastic surface, not glass, which can be beneficial. It will not break as easily, and the frames are lighter. However, plastic is not always perfectly straight like glass, and its reflections may slightly warp. It’s hard to notice without a direct light source on it, but if that’s the thing that will bother you, you may want to consider opting for a more expensive glass frame.
If you do not have an Ikea, Michaels is also an excellent place for frames. Although they are generally more expensive than Ikea, they have just as much, if not more, variety.
I prefer black or white frames, as they match easily in any environment. For frame design, I prefer something simple and around medium thickness—not too small, where it looks cheap, but not too big, where the frame draws attention away from the photo within it.
Print Vendors
I have been using Don’s Photo for two years now and am incredibly happy with the results that they produce. Don’s Photo is based in Winnipeg, Manitoba, with locations in Western Canada. However, there are no locations in Nova Scotia, which would be beneficial as it would save me on shipping costs. Another option is Henry’s, which I have used primarily for canvas. I’d say the photos are on par with what Don’s produces, but I find the process very easy with Don’s. Once you find a convenient service that produces excellent results, there is little incentive to shop around. With Don’s Photo and Henry’s, most standard printing sizes are available, and enlargements are also an option. Prices vary slightly between the two.
I always choose a matte print, not glossy. Framed photos benefit from a matte finish as you already have the shine and gloss from the glass (or plastic). Combining that with a glossy print can be too much shine and reflection.
Shipping time will vary, but in my experience, it takes about five working days from submission to shipping, and another five for transport time to arrival. Prints are delivered in a flat package to your door, but I assume some larger sizes would come in a tube.
Preparing the Prints
Once you have your frames, it’s time to start selecting and preparing your prints for printing. I like to get a general idea of how my photo will look before sending it to be printed. What will it look like in a frame? And how much matting do I want to give it?
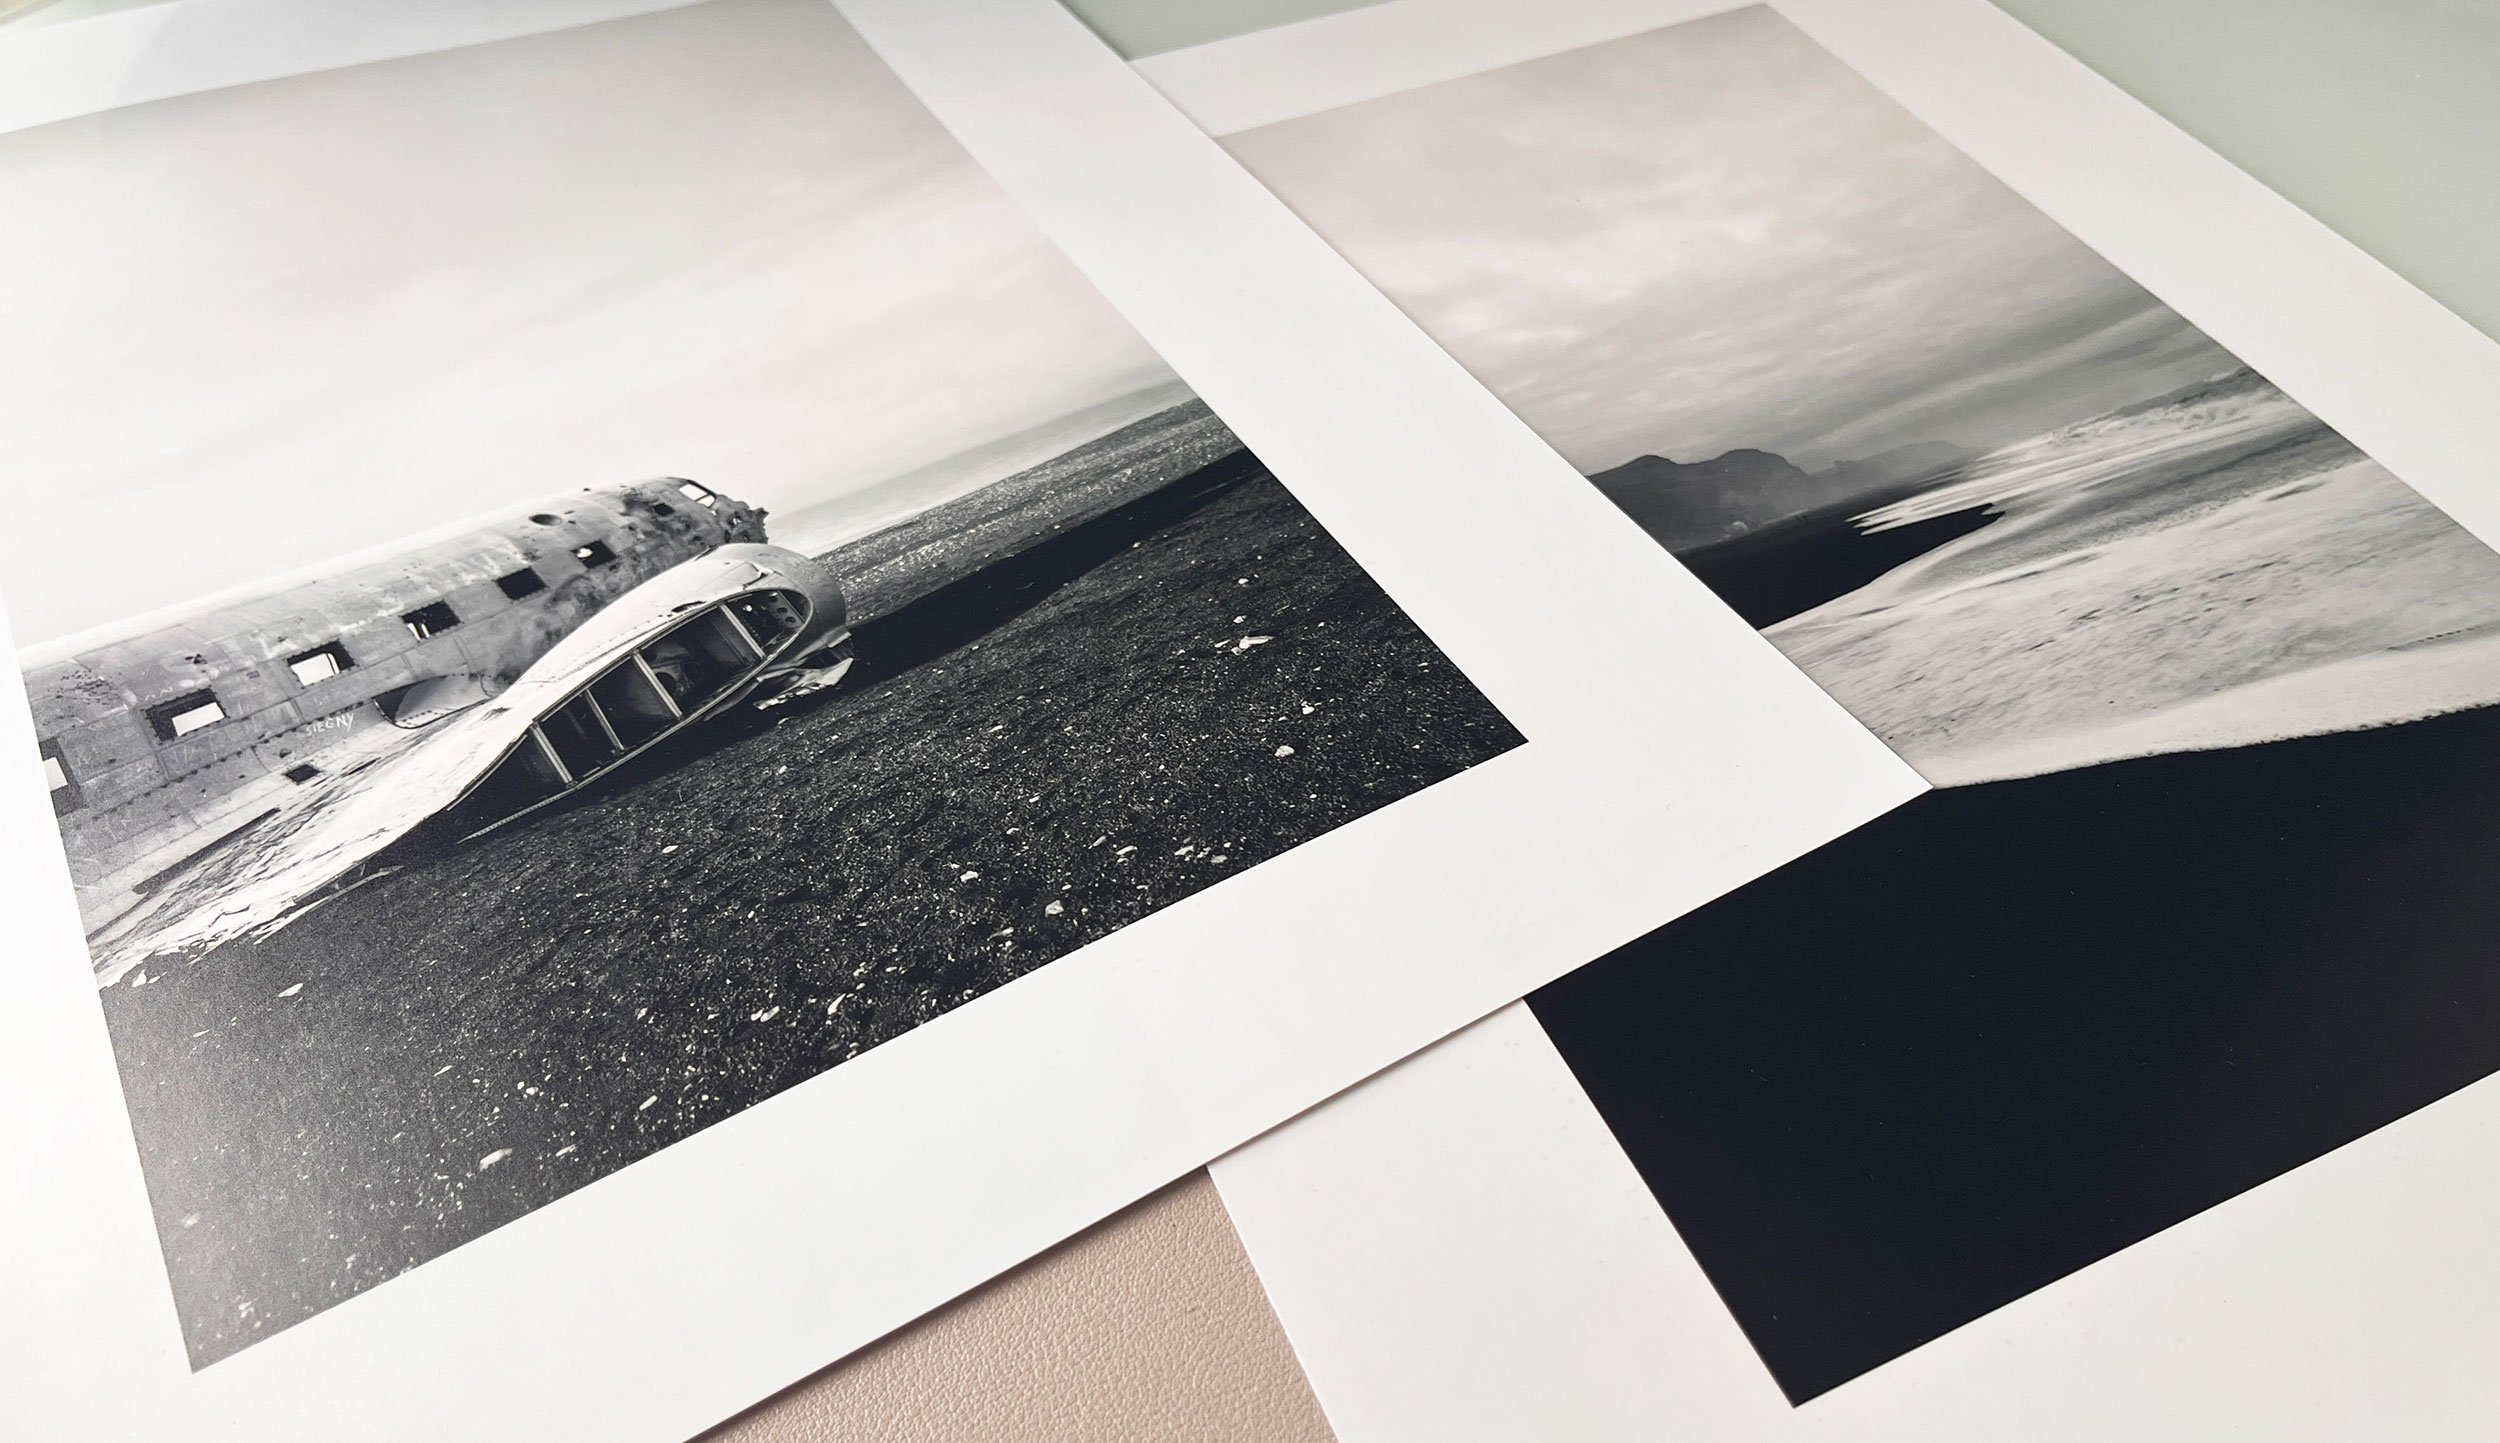
You can buy frames with and without mattes, but generally, if one is included, I rarely have a purpose for it, as I create my matte in the print preparation. I think all framed photos look better with a matte. A matte adds visual depth, a professional finish to the framed piece, and a buffer between the artwork and the frame, giving a photo room to breathe and a life of its own without the competition of the surrounding frame. Generally, I believe it elevates any photo and is a better way to present a work of art.
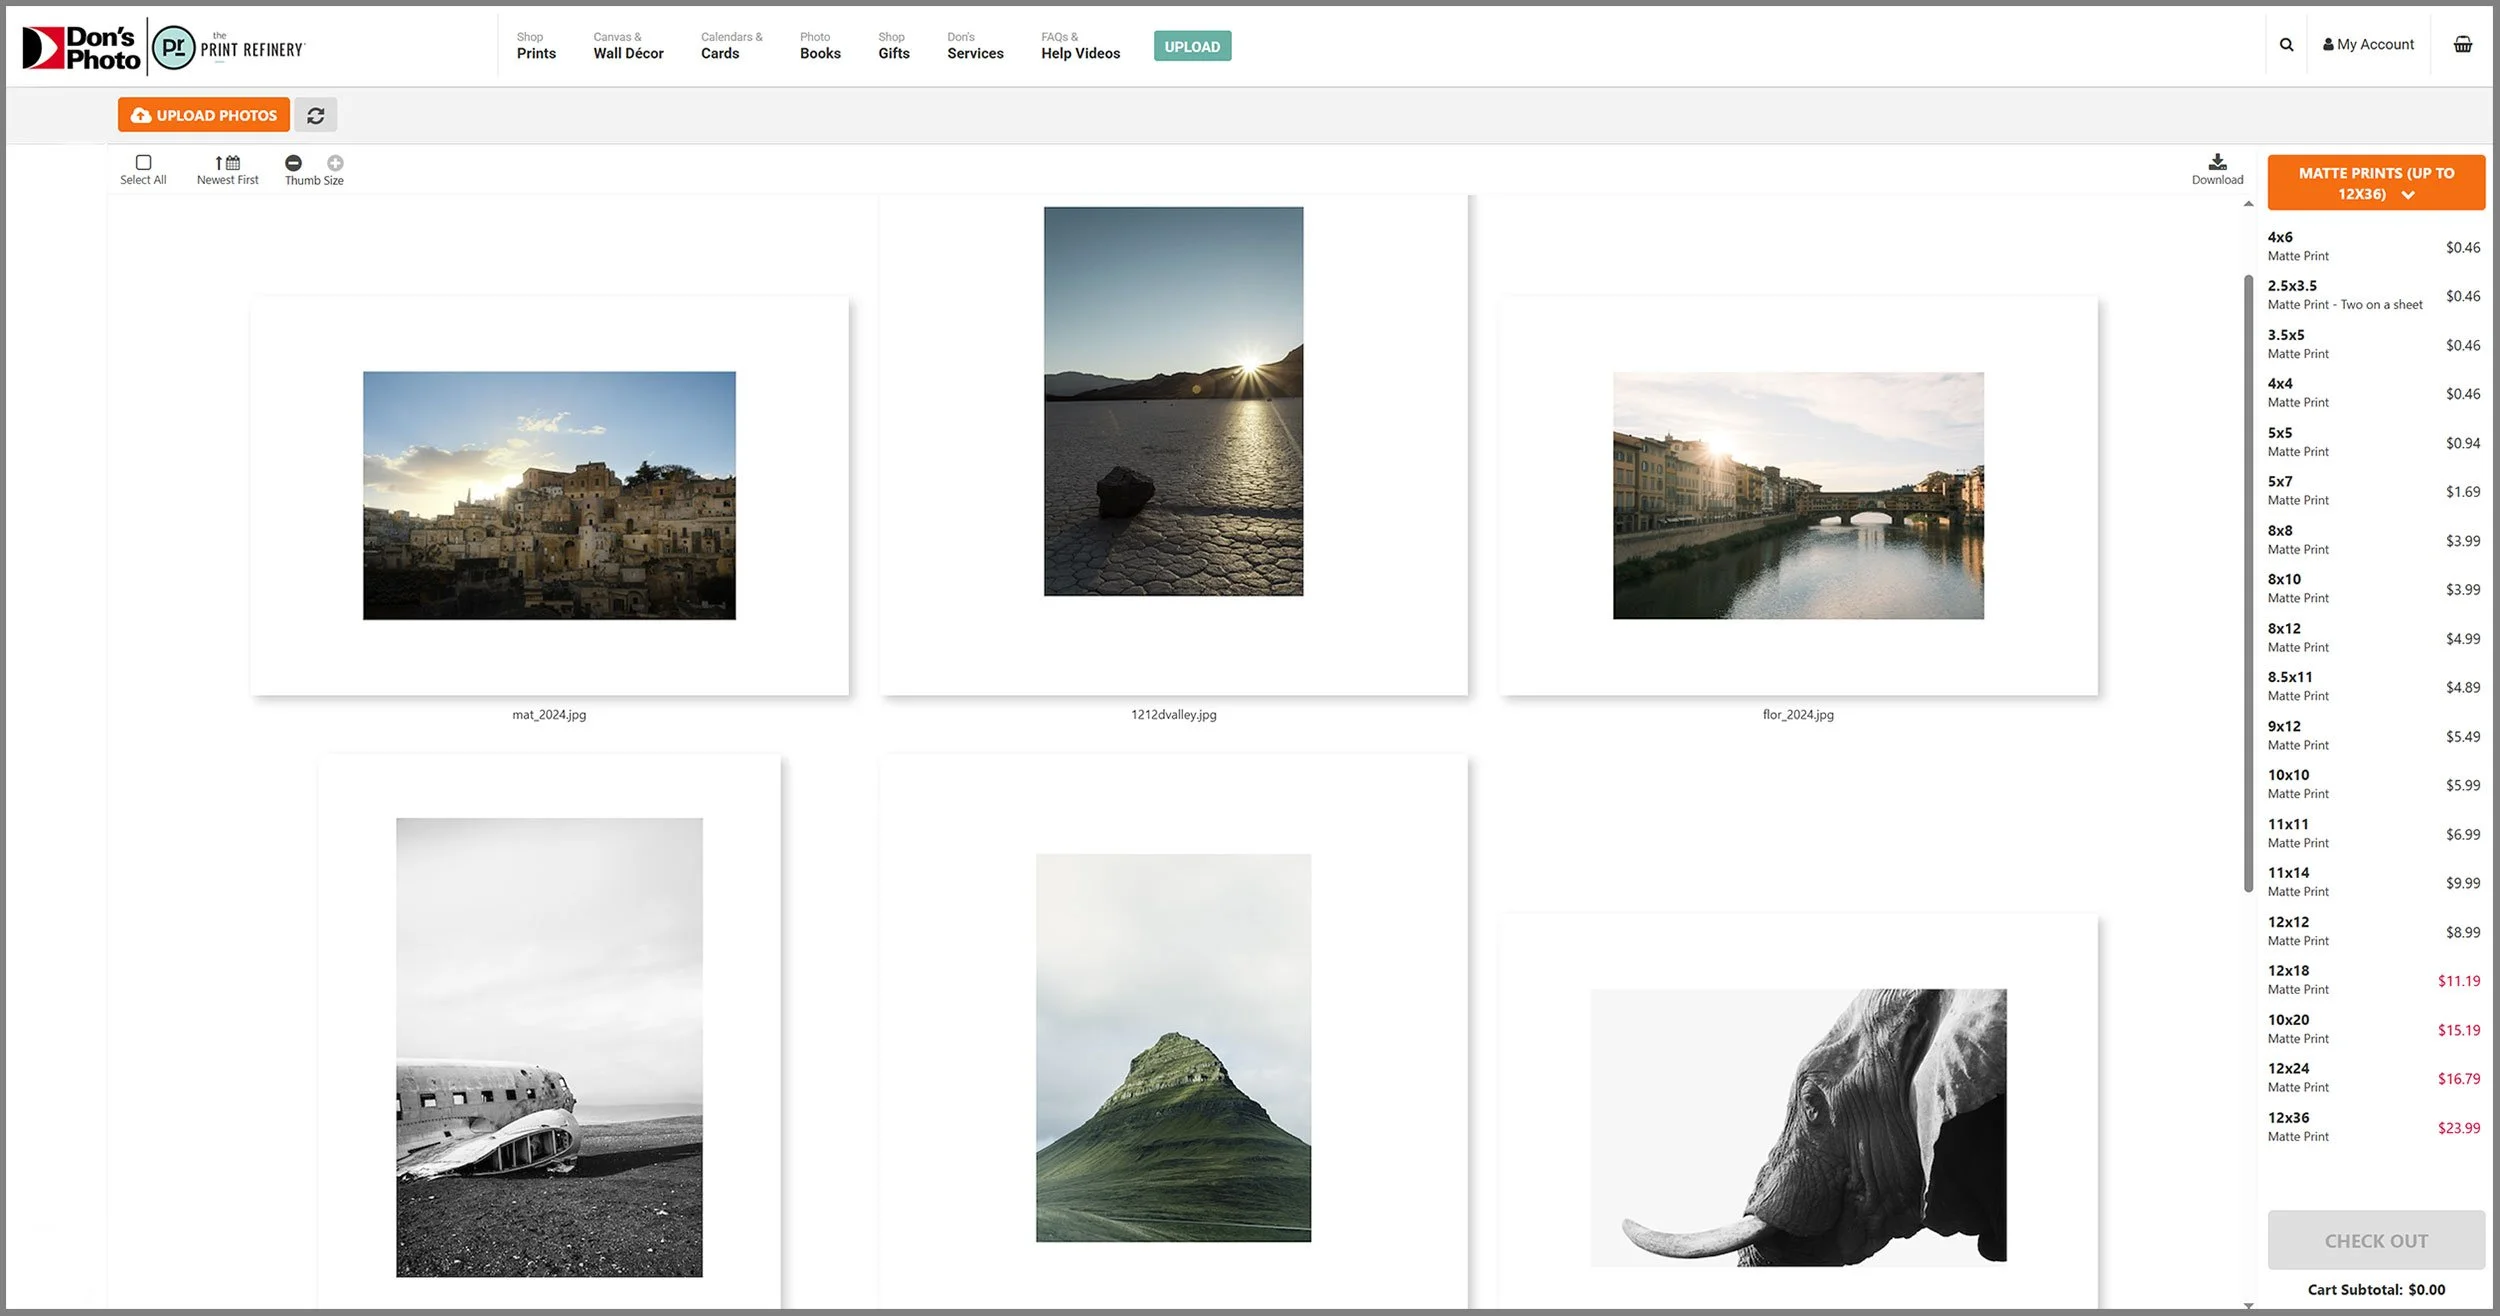
Create a new document in Photoshop with the dimensions, in inches, that you want to print. Choose a white background and 300dpi. You can crop after uploading and before ordering, but I like to do this step first as it’s easier to visualize in Photoshop than in the print vendor interface.
Open your chosen photo and copy and paste it into your document. Resize to taste, leaving a border as necessary. It’s generally a good idea to leave close to the same amount of space around the photo, but sometimes, that’s not possible, for example, a vertical photo in a square frame.
Center your photo in the document. Once satisfied, save a JPEG image.
Your files are ready for upload!
NOTE: In the below example, you will notice that the matte is not even. There is more space on the sides than on the top and bottom. This is due to the document size. In this example, I want to fill a 12x16” frame, but the only option for print is a 12x18”. I left some extra border and will physically trim the photo to fit the frame size after it arrives.

Themes and Multiples
An 8x10” frame is relatively small and rarely works well on a wall due to its size, but three or more 8x10” frames can look fantastic. You may have heard before that multiples of threes in terms of composition work better in photos. It’s a more cohesive narrative than two. The same applies to physical photographs. If you are doing multiple photos, three or five feels more comfortable.
If you are planning on using more than one photo in your presentation, I encourage you to use a related theme among your photos. For example, all black and white, all patterns or textures, etc. Make sure there is a matching element amongst them, as visually, it will be much more engaging and make your presentation feel more purposeful.
Again, I encourage you to use painter’s tape to help visualize how your photos will look on the wall. You don’t want to punch holes in your wall without being sure. Also, ensure you have a respectable and even space between the frames on the wall.
Conclusion
Printing and framing do not have to be expensive, as you can get great results while spending little. It depends on your preference and print standards. I’ve always found the results I’ve received very accurate to the colours within. One final tip I would have is once you are ready to order, take a day to think about it and come back. Do you still feel the same way about that print? Do you want to change it or add another to your order? Pay for shipping once instead of making multiple orders whenever you change your mind.