Mastering Fujifilm’s Dynamic Range: When and How to Use It
When shooting with Fujifilm cameras, dynamic range can initially seem confusing, but understanding and utilizing the dynamic range (DR) settings can dramatically improve your photos, especially in challenging lighting conditions. Fujifilm’s dynamic range feature helps preserve details in the brightest and darkest highlights, allowing you to capture images with richer tonal depth and less risk of blown-out highlights or crushed shadows. Whether you’re shooting landscapes under harsh sunlight or high-contrast scenes indoors, knowing when and how to use Auto, DR100%, DR200%, or DR400% can elevate your photography to the next level. However, there are some instances where increasing dynamic range can have unflattering results. In this post, we’ll explore Fujifilm’s dynamic range settings, how they work, and practical tips for applying them effectively in your shooting workflow.
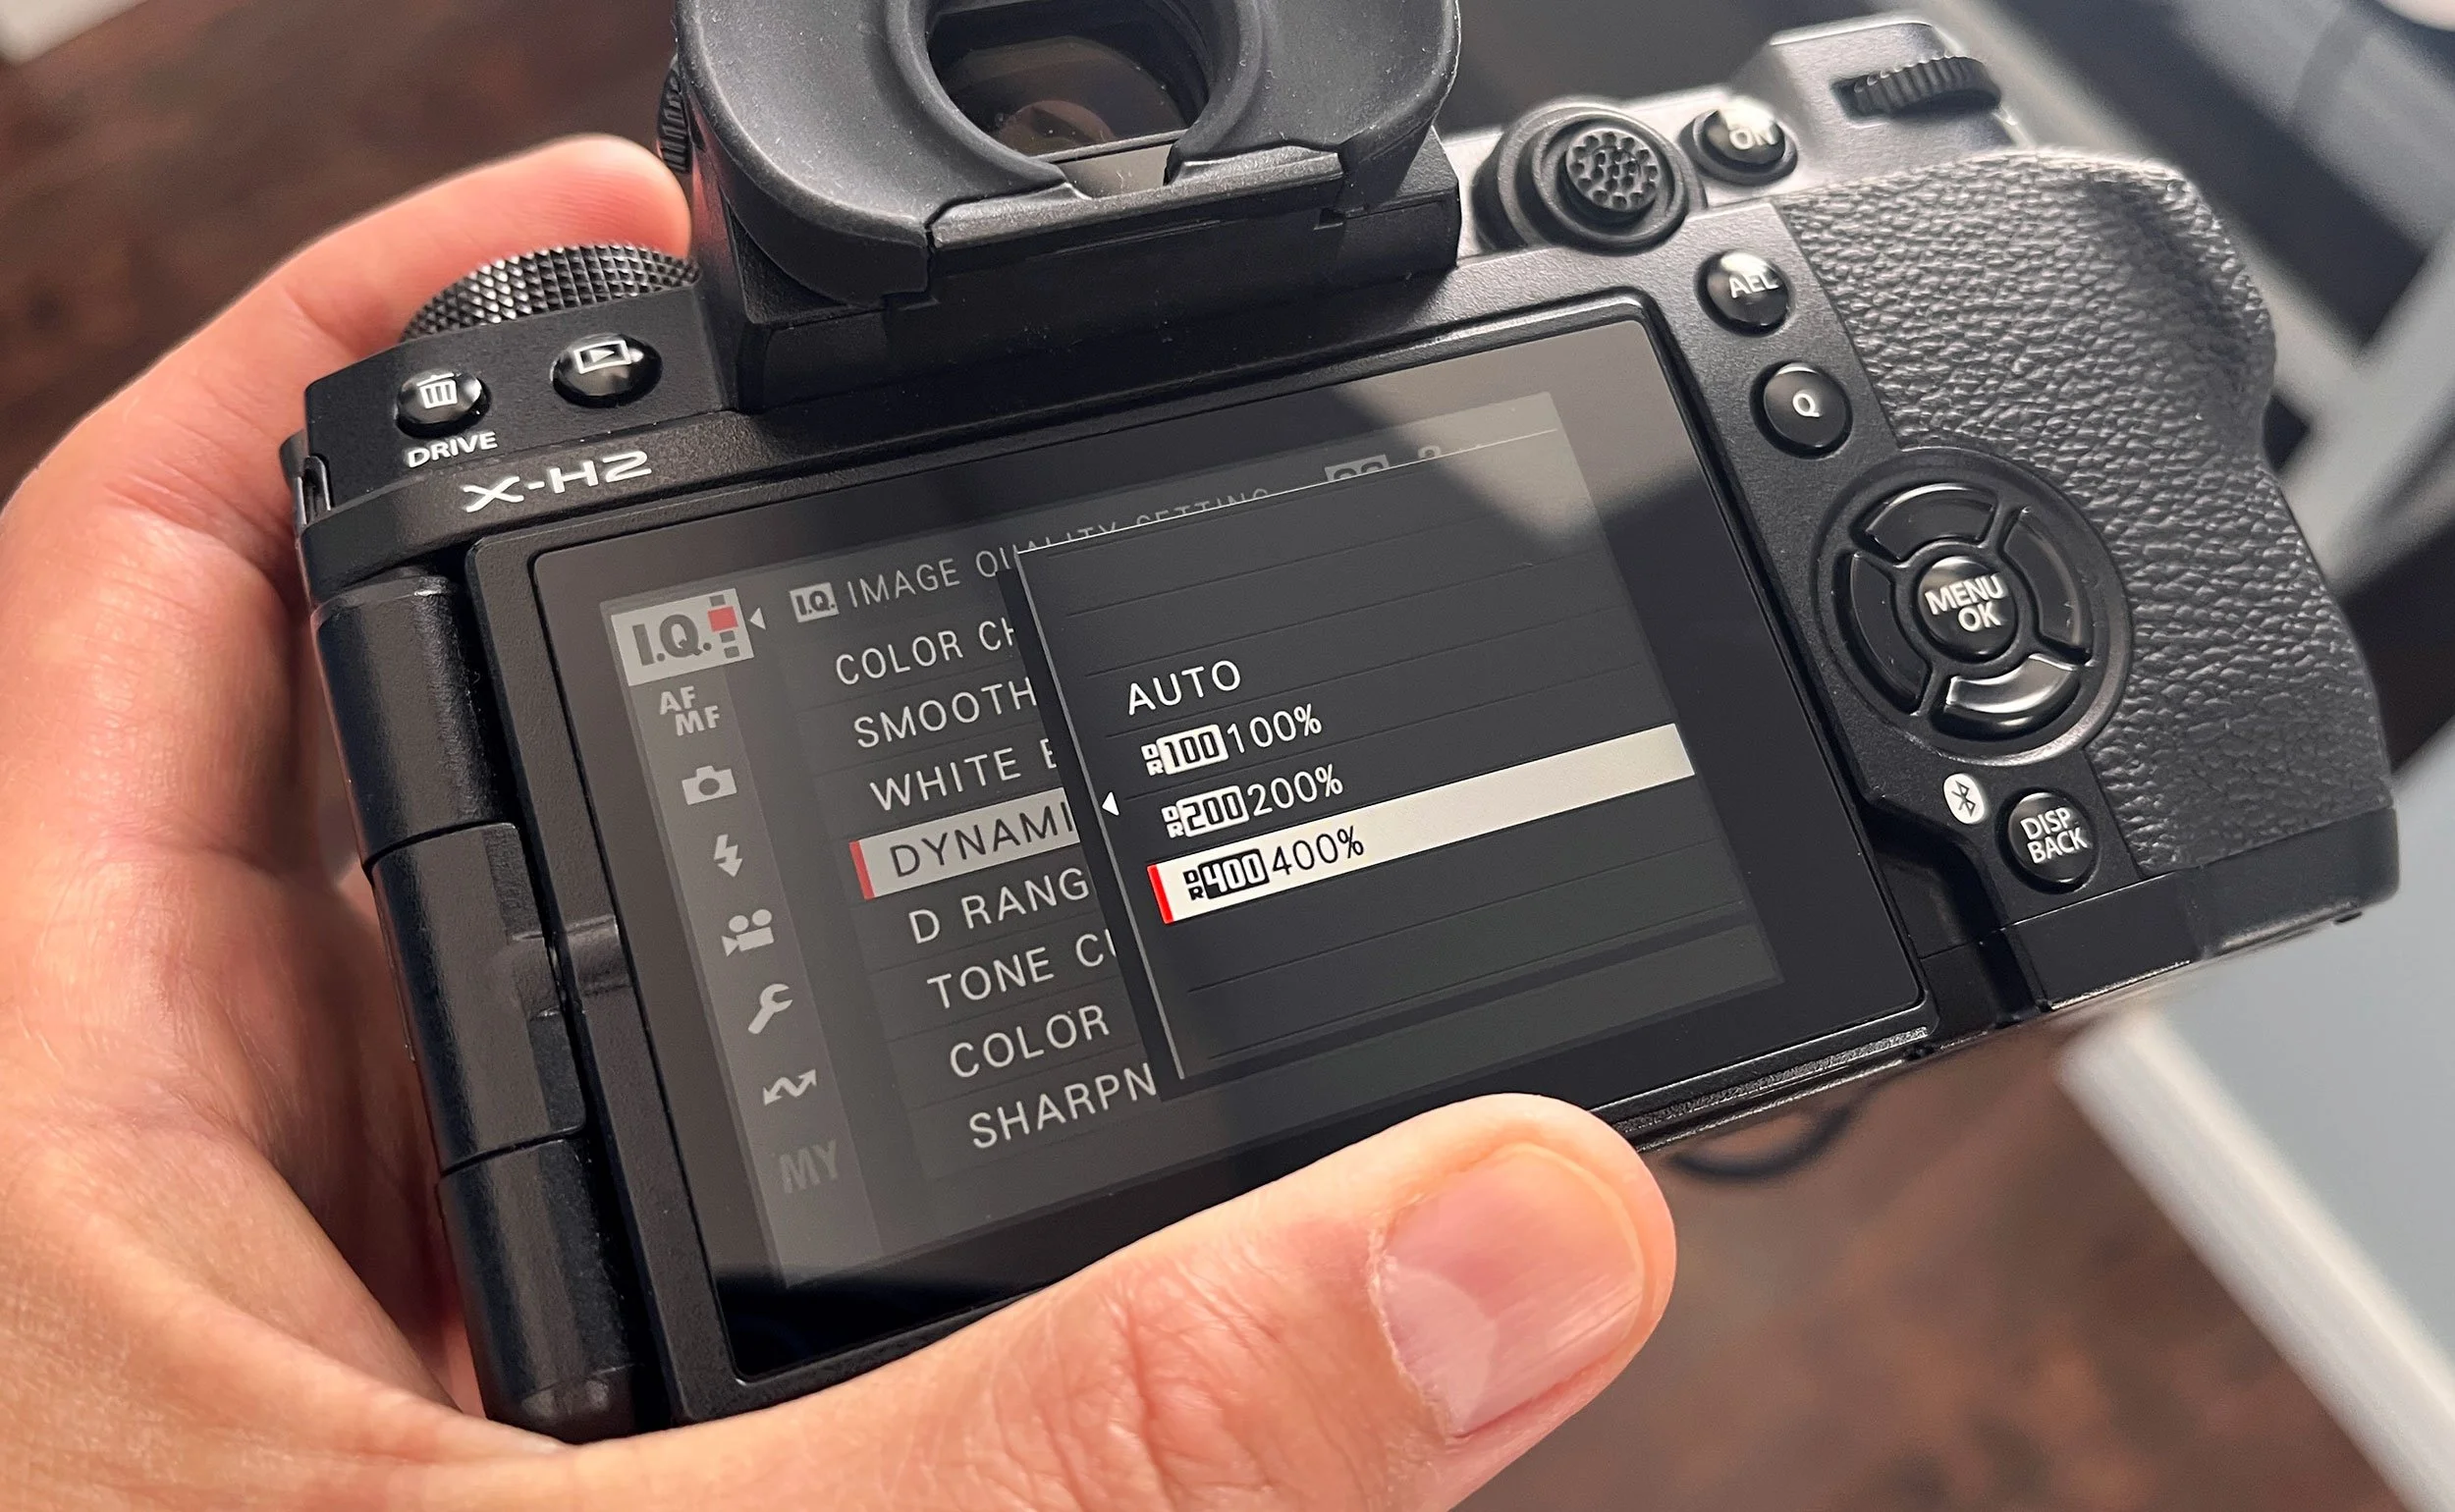
It’s essential to recognize that Fujifilm’s dynamic range setting affects several key aspects of an image, primarily related to how highlight and shadow details are captured and rendered. Most importantly, it will affect your RAWS and JPEGs.
Highlight Protection by Underexposing
DR200% and DR400% will underexpose your image by one or two stops to protect the highlights, preventing the bright areas from being blown out. Skies are a prime example of this highlight protection element of higher DR settings. Do you want your sky to look close to blowing out, or do you want it to have detail and colour? DR200% is the middle ground, and DR400% is the highest. It’s a personal preference, and it can look great either way.
Brightness Increase in Shadows
As dynamic range works to balance the exposure throughout the image, it is probably not surprising that a higher dynamic range, while lowering the exposure in the brighter areas, also increases the exposure in your shadows. Some prefer deep, black shadows, some don’t. If you want those deep, black shadows with a distinct lack of discernible details, you’ll want to stick with DR100%.
How Higher Dynamic Range Effects ISO Settings
Dynamic range refers to the range between the darkest and lightest areas that your camera sensor can record without losing detail. A camera’s ISO settings handle its sensitivity to light. Earlier digital cameras were poor at handling even a slight increase in ISO; however, today, most cameras are quite capable of handling higher ISO settings, which raises the possibility of noise in your images.
In most instances, using an ISO of 100 or 200 is pretty standard, and visible noise will probably be minimal in most cases. However, when you use a higher dynamic range, your camera needs to be able to hit the minimum ISO setting it can handle throughout the frame.
To handle the variation in dynamic range of your image, when you use DR200%, your minimum ISO will be 250; for DR400%, it will be 500. At ISO 500, you will start to see noise in your image. If any visible noise bothers you, consider whether it’s worth doing; however, a higher dynamic range is often used with a film recipe or simulation. And in that case, it probably won’t be much of a concern, as film recipes simulate film, and film usually has some noise element. Film recipes can also add grain, further enhancing that effect.
When to Use It in Your Travel Photography
The best time to use a higher dynamic range is when you want to capture detail and colour in the sky in your image. It’s pretty easy to blow out a sky in normal circumstances, and sometimes that is preferred, but in instances where the sky is part of your subject, you’ll want that detail.
It’s important to note that increasing dynamic range seems to reduce contrast, and in my experience, it doesn’t work well with overcast skies. The already low contrast is further reduced, resulting in a flat image. If it’s a dreary day or raining, stick with DR100%.
Regarding shadows, sometimes I like to conceal everything within the shadows, drawing more attention to the highlights; other times, I prefer to keep some visible details. I have found that I sometimes adjust the dynamic range on the fly. It only takes a few seconds to do in the menu. When using a film recipe, making a change like this is easy to revert; as long as I don’t save any changes, the changes will revert to what is saved in the recipe once I power off and on. A nice feature, meaning I do not worry about forgetting which DR setting I’m using.
Conclusion
I did not discuss the auto setting as I have never used it. However, in summary, if selected, Auto will automatically choose the appropriate dynamic range level, either 100% or 200%, based on the subject and shooting conditions, and assist in balancing contrast while maintaining details in both highlights and shadows. The camera uses DR100% for lower-contrast scenes and switches to DR200% for scenes with brighter highlights. Seems good in theory, but I like to have control of the dynamic range.
In conclusion, mastering Fujifilm’s dynamic range settings: Auto, DR100%, DR200%, and DR400%, allows you to better handle challenging lighting by preserving highlight and shadow details, enhancing tonal depth and image quality. By underexposing portions of an image to protect highlights and lifting shadow brightness, higher DR settings help recover details in bright skies and deep shadows. However, this comes with trade-offs such as increased noise at higher ISO levels required by DR200% and DR400%, and a reduction in overall contrast that may not suit all lighting conditions, particularly overcast skies. Ultimately, understanding when to apply each setting and adjusting on the fly when needed allows you to balance highlight preservation and shadow depth.