Light-Painting Techniques for Dark Vehicles: 2026 Genesis GV80 Coupe Black
Genesis GV80 Coupe Black
Light painting requires careful consideration of what you are capturing and how you capture it. Checking your exposures to ensure you have the intended portions of the vehicle lit as intended is essential to the success and impact of your final composition. I’ve posted a fair share of information on car light painting, including ‘A Car Photography Light Painting Guide’, ‘How to Light Paint Car Interiors’, and ‘Car Light Painting Advice for Better Results’.
That information will help you understand the why and how of car light painting to get better results from your photos. However, one of the most critical aspects of the light painting process is the post-processing stage of your workflow. One of the most essential aspects of arriving at your final composition is determining the necessary exposures before post-processing. You never want to get into your workflow and realize that there was one critical exposure you forgot to capture. That could ruin a photo.
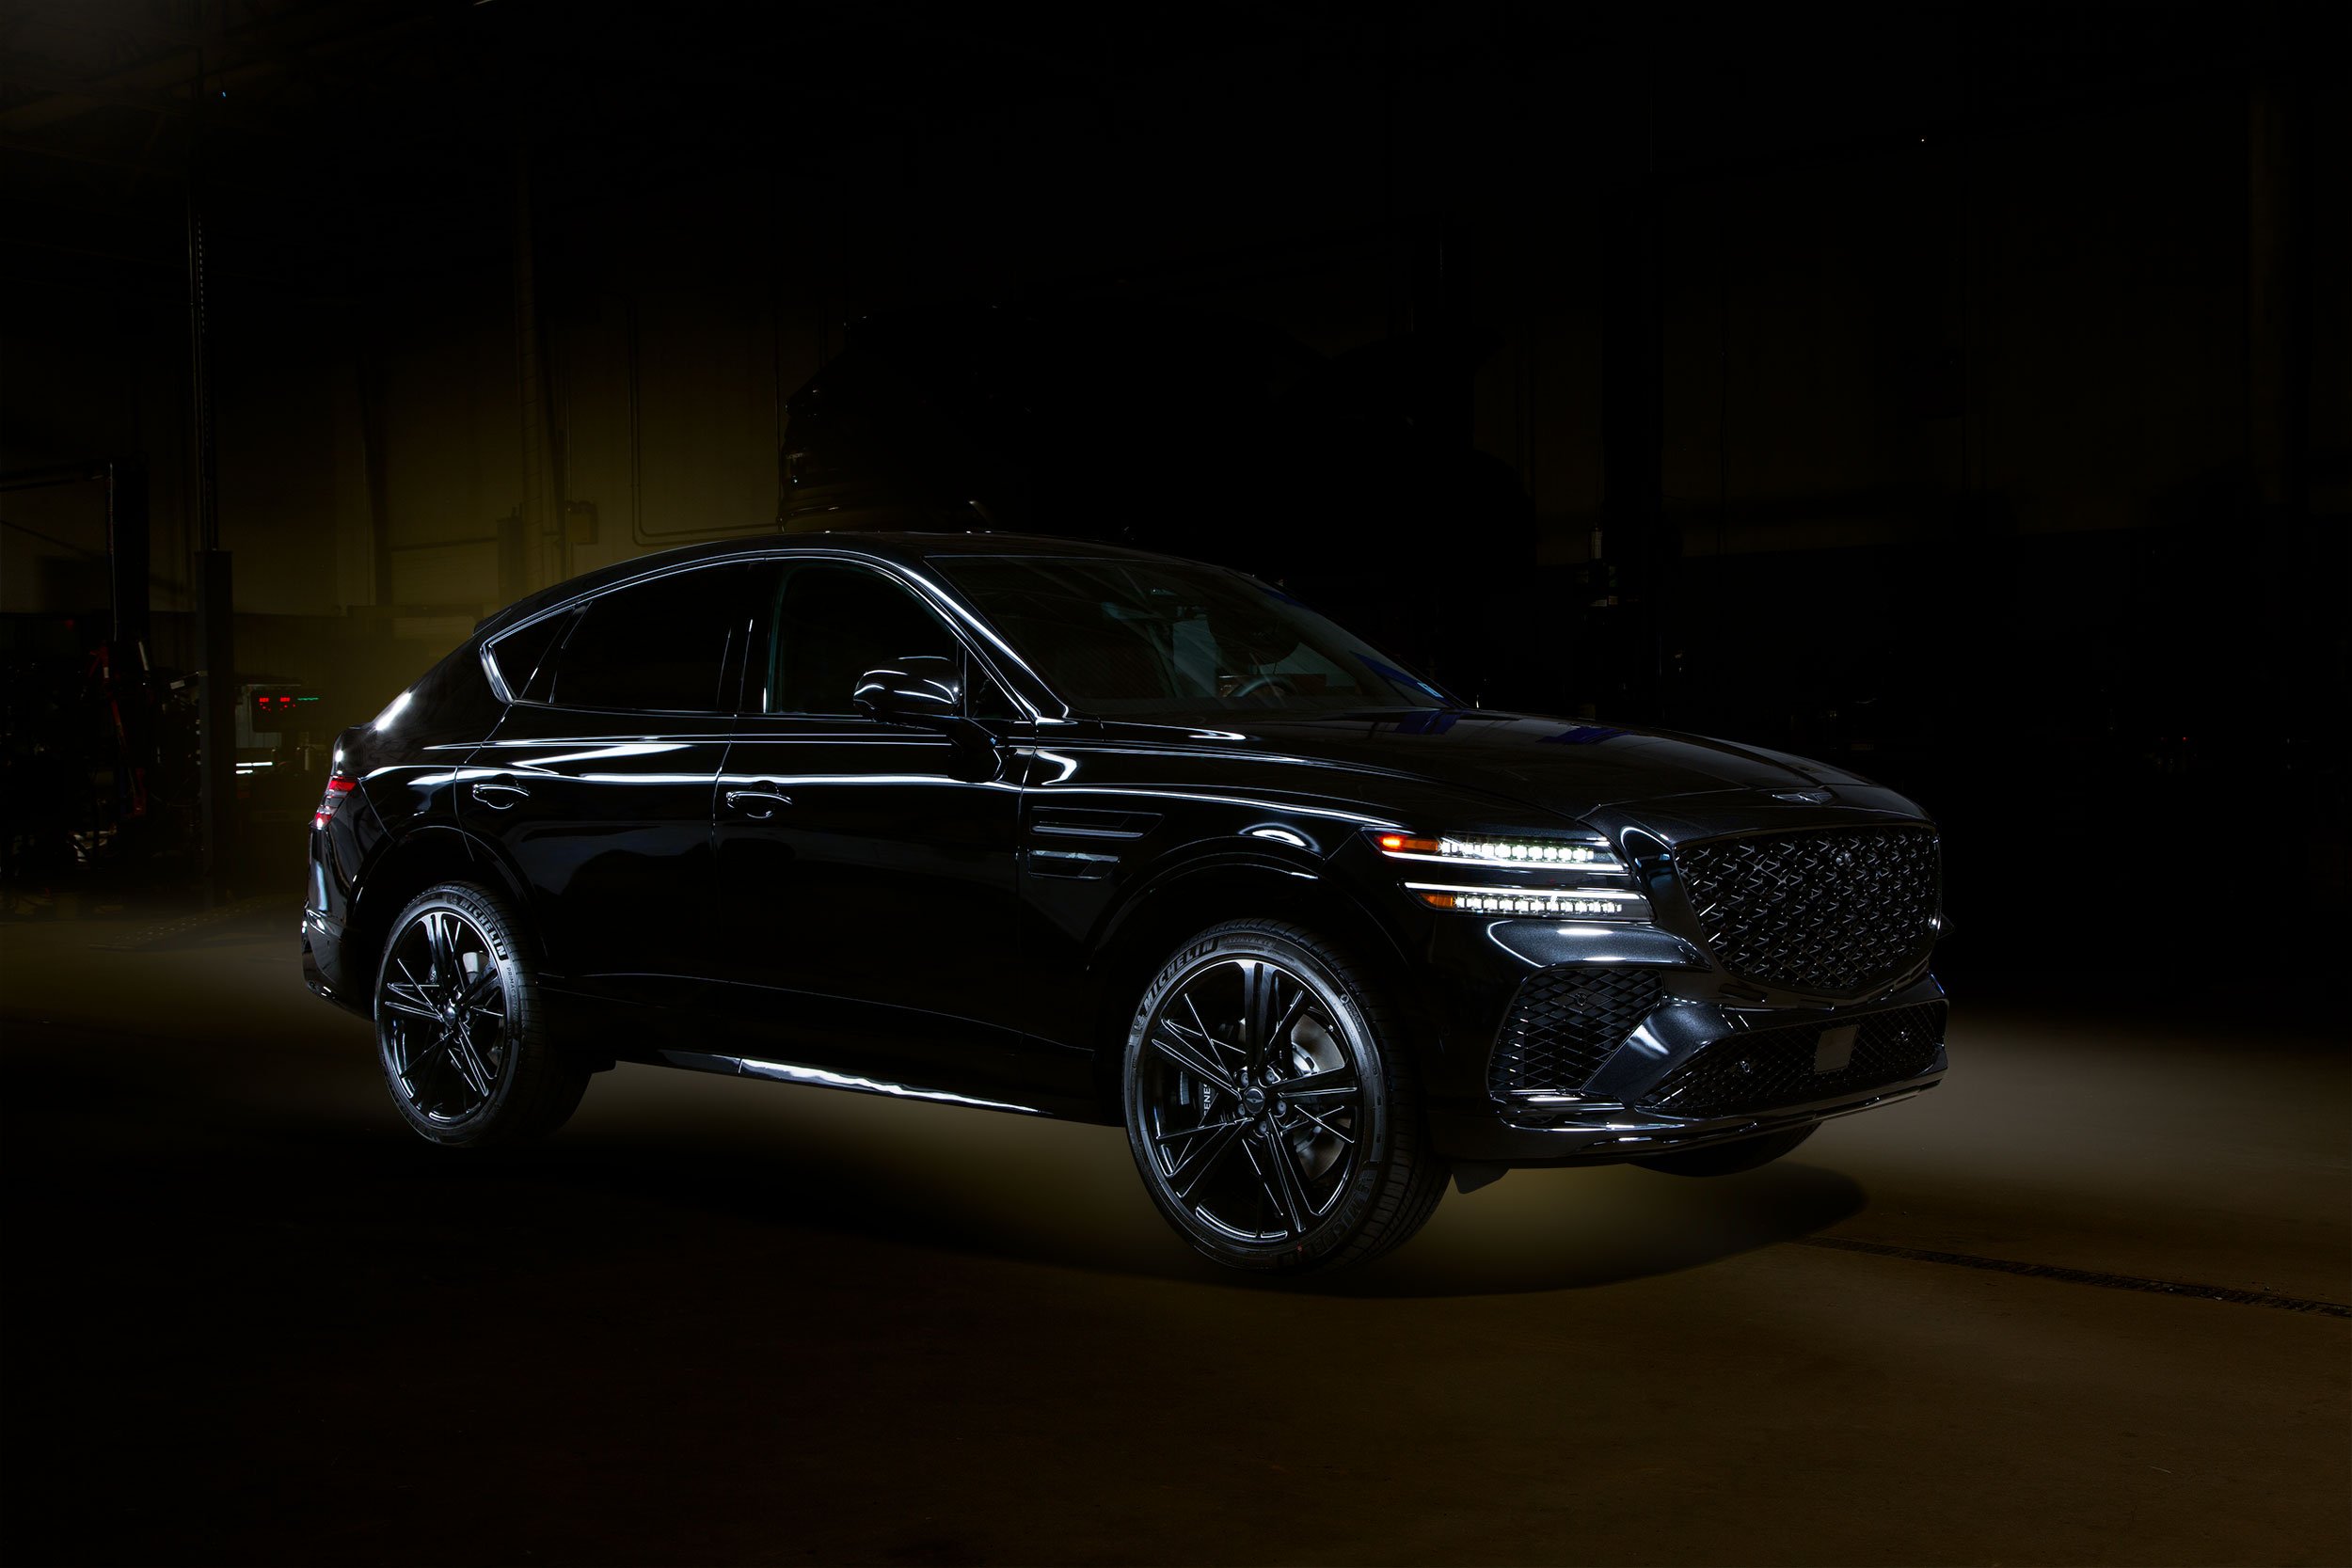
Generally speaking, lighter-coloured cars are easier to paint than darker colours, with white being probably the most cooperative in the light-painting process. However, in this post, we’ll look at a recent shoot of this 2026 Genesis GV80 Coupe Black, which gives the vehicle black paint, black 22” wheels, black badges, black trim, and a black grille.
When you light-paint darker cars, there can be significant challenges that need to be considered. I’ll provide some recommendations for lighting dark vehicles to achieve a look similar to what you see in these photos.
As Clean as Possible
If you have ever owned a black car and one that is particular about the cleanliness of your vehicle, you have definitely noticed how difficult black cars are to keep clean. Everything shows, even dust. In certain light, the car can look fantastic, but if the light hits it a certain way at a particular angle, you will see how dirty it can look. It’s almost impossible to have a black car flawlessly clean. Still, you will want to get as close as possible. If the vehicle was recently washed, dry it with proper automotive drying towels to avoid any water spots as much as possible. Give the wheels some dressing, too.
If there is some dust on the car, do not wipe it off! If there is dust, at least it is uniform. Wiping off dust on a dry car can not only cause scratches, but the swirls from wiping it off can become very noticeable in photos. It can also be in spots that make it difficult to clone out later in post. However, a good wash generally goes a long way and can save you a significant amount of time later.
Detail is Key
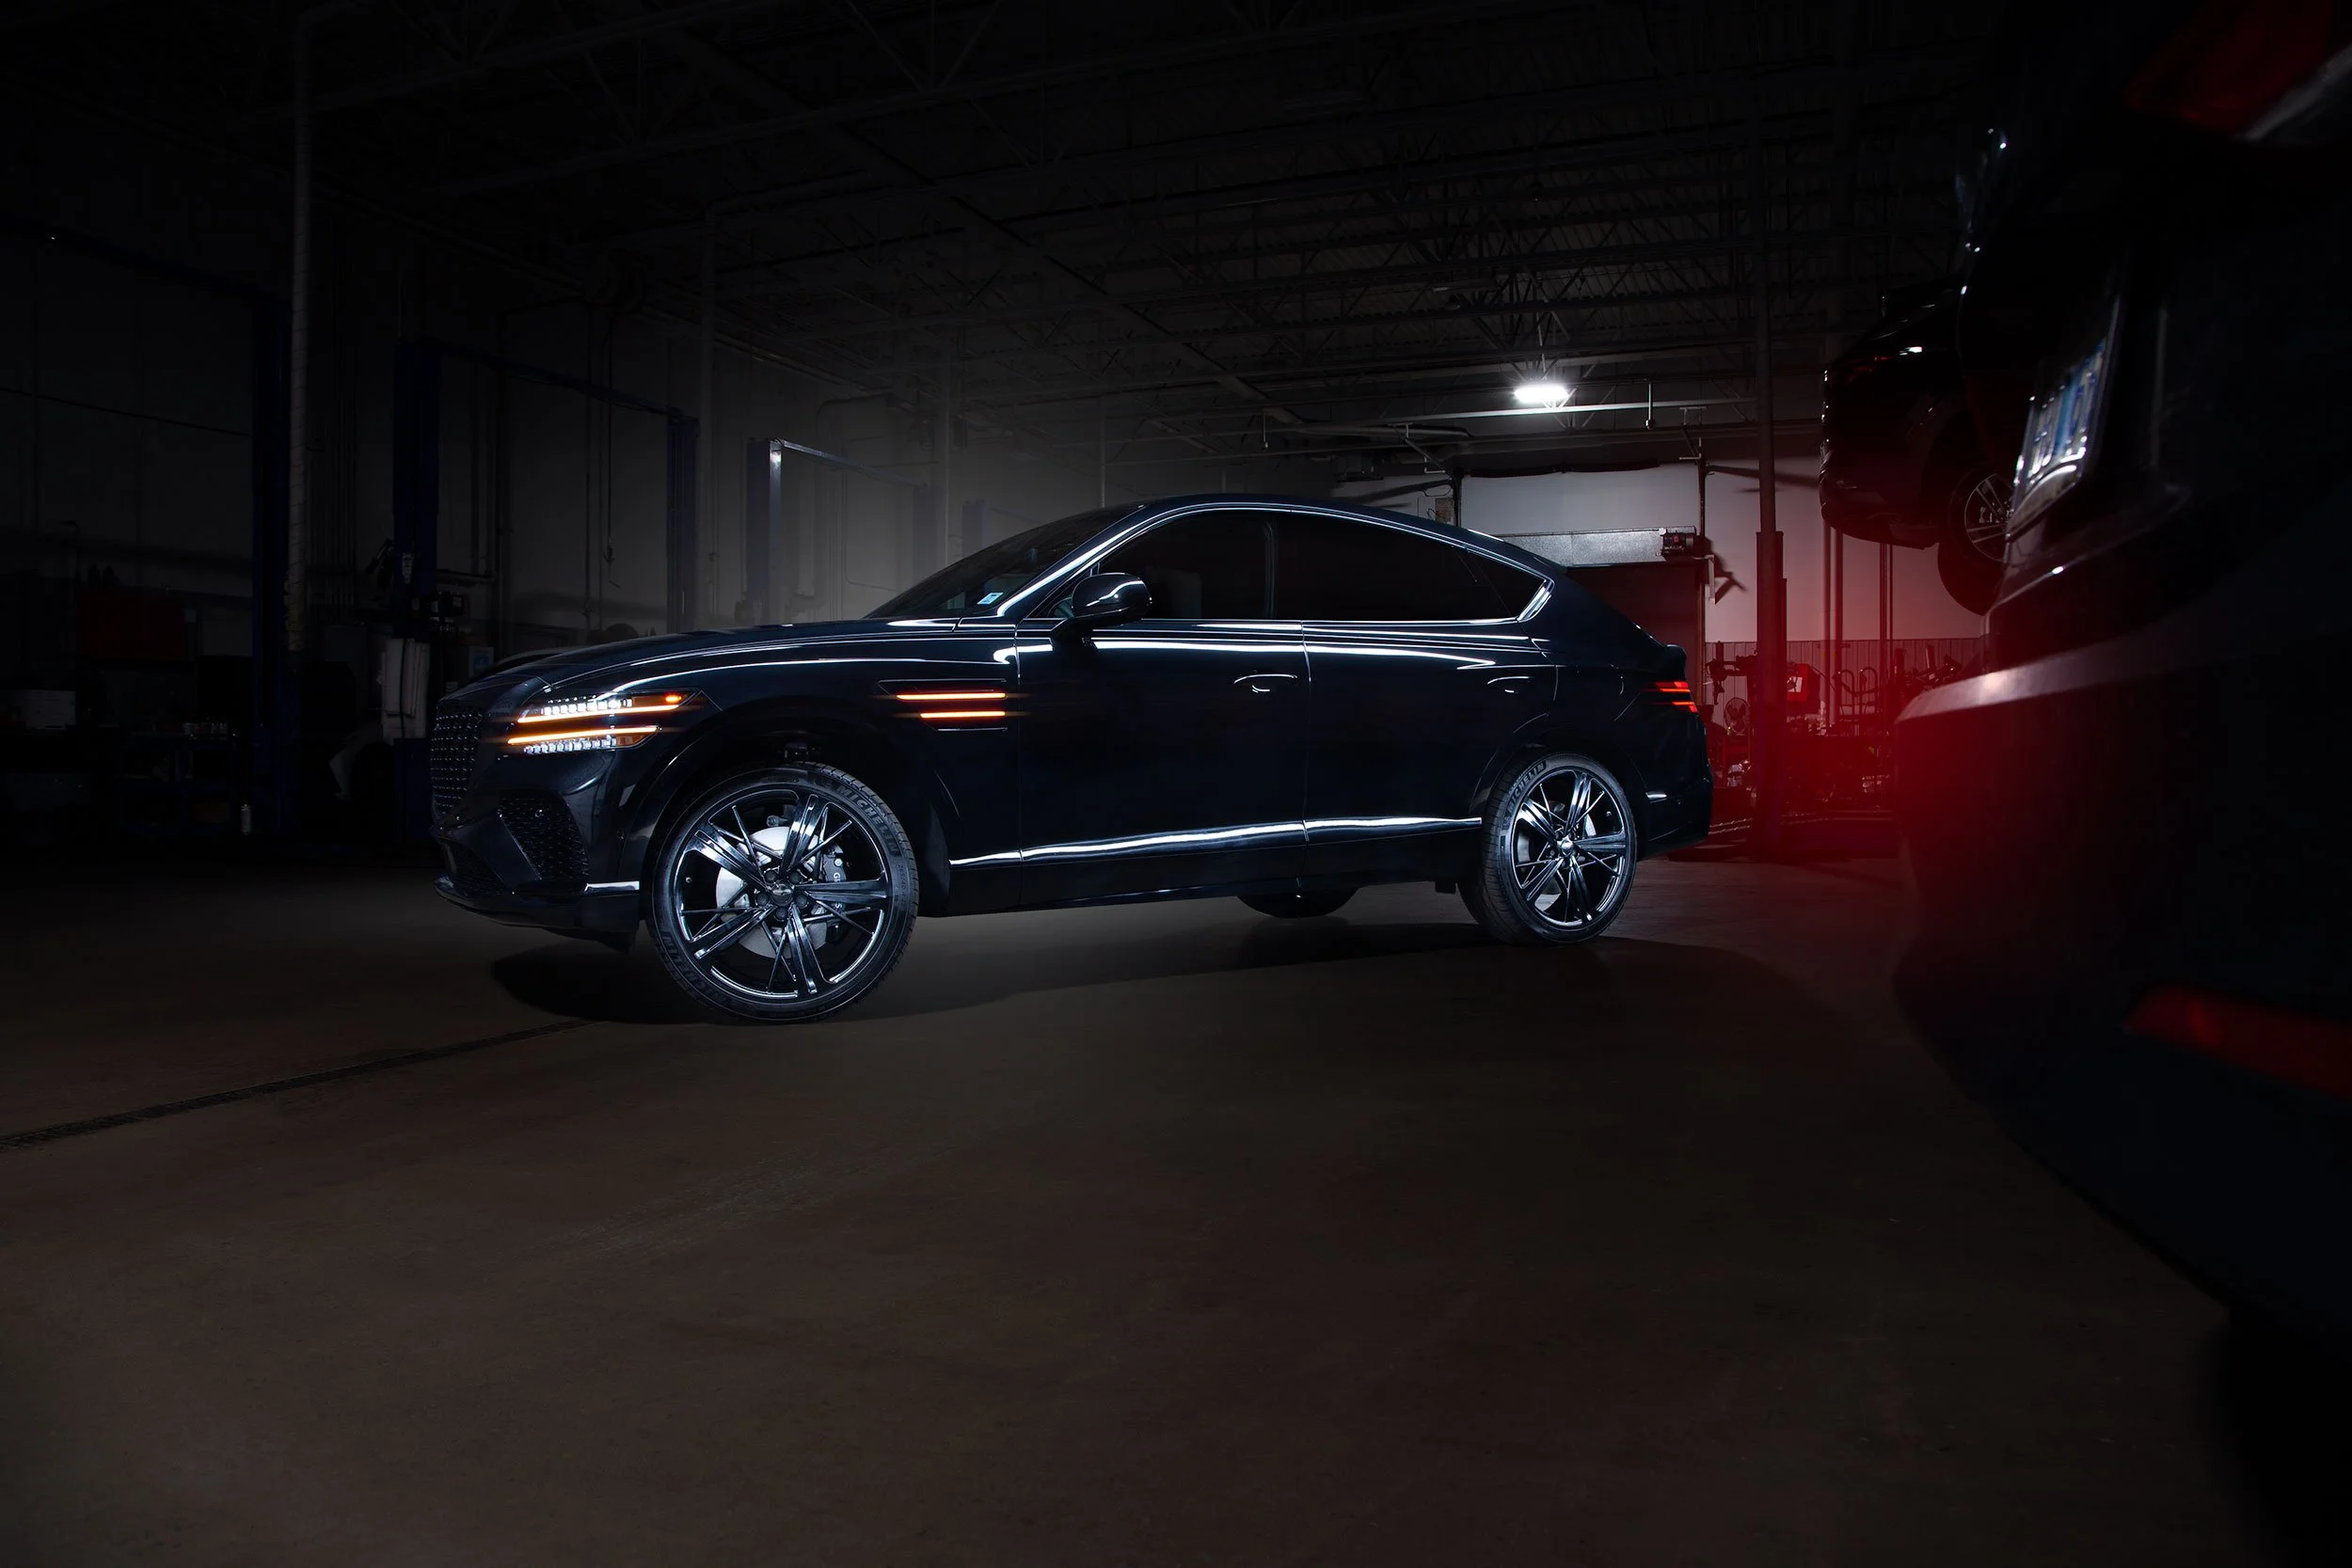
Since a black car can hide details in darker environments, capturing texture is key. To do so, you’ll want to use your light source at a high or low angle to accentuate the details, such as the wheels and brakes. Keep in mind that doing so on a painted surface will emphasize dirt and dust.
Hold your light source up high, above the vehicle. This will illuminate the outline of the car as it won’t be directly facing the body. The point is to emphasize the details, not the entire car. An important note about lighting a vehicle is that using strobes and light-painting produces very different results. I think the results from using strobes look amazing, but I have no strobes and, as a result, no experience with them.
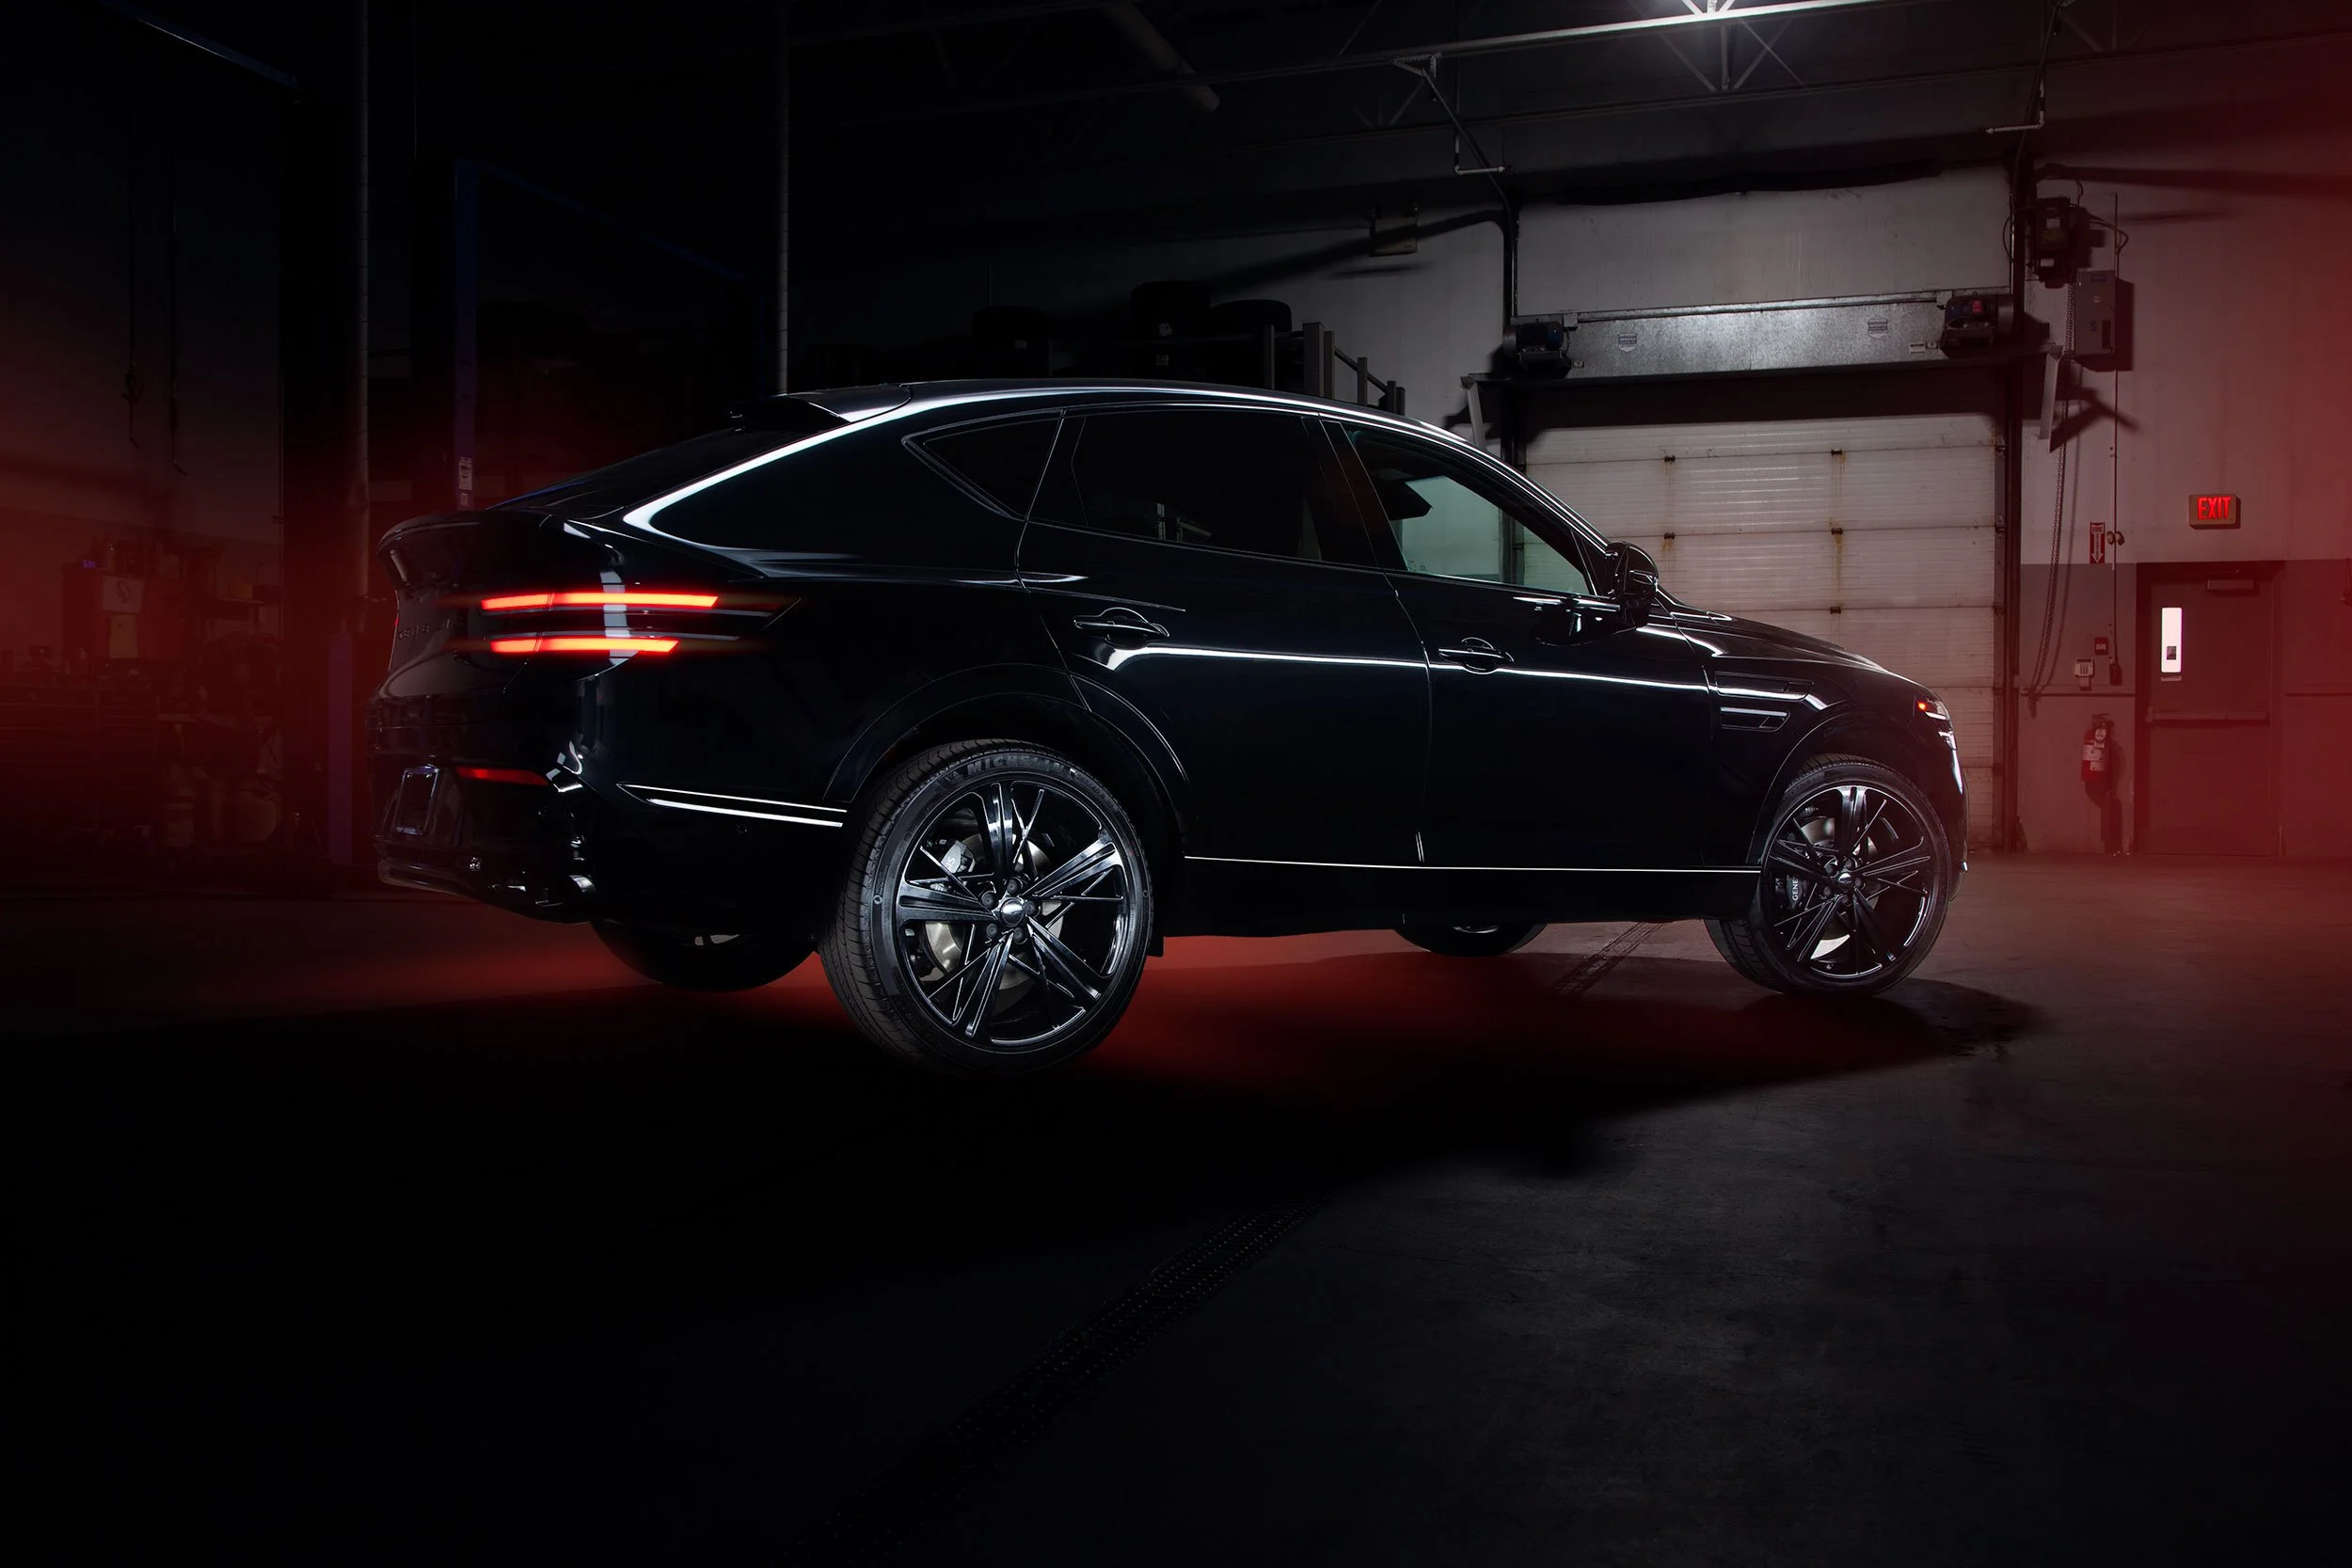
Capture the Car’s Lights
This is probably the easiest exposure to capture, as it doesn’t take much of a timed exposure. Just reduce your exposure until you get the car’s lights looking right. It’s also the easiest layer to blend in Photoshop. Change the blend mode to Lighten and you’re done with that layer. But capturing the lights is essential to the composition, especially if they have some colour (including the red of the brake lights), as it adds a bit of eye-catching colour.
Tip: Use that colour to add more colour to the surrounding light as I did in each of these images.
Add a Background Light Source
You can do this with proper lights if you have them, or later in Photoshop. I find that adding some light surrounding the car helps separate it from the dark background. During post-processing, you would make a selection of the entire vehicle using the pen tool. Be sure to save that selection so you can recall and load it when needed. It makes separating the light source from the vehicle relatively straightforward. Along with lighting, smoke and fog are a few options to add ambience to your photo. It also helps minimize distractions in the background that can distract from your main subject.

Genesis GV80 Coupe Black interior
Conclusion
Light painting a car requires meticulous planning and attention to detail, from capturing the correct exposures to post-processing. Ensuring that the key portions of the vehicle are lit correctly during the shoot is critical to the composition's success, as missing an essential exposure can compromise the final image. While lighter-colored cars like white are generally easier to light paint, darker cars, such as black ones, present unique challenges due to how dirt and dust show up and how details can be lost in shadows.
To overcome this, it is crucial to maintain a clean vehicle, use strategic lighting angles to accentuate textures, and capture the car’s lights to add color and interest. Adding background light sources during the shoot or in post-processing helps separate the vehicle from dark surroundings and reduces background distractions. Overall, combining thoughtful shooting techniques with careful post-processing ensures striking, well-defined light-painted images of cars, regardless of colour or finish. This approach is essential for achieving images that you are happy with.